
Looking Glass Boeing EC-135 Photo Gallery
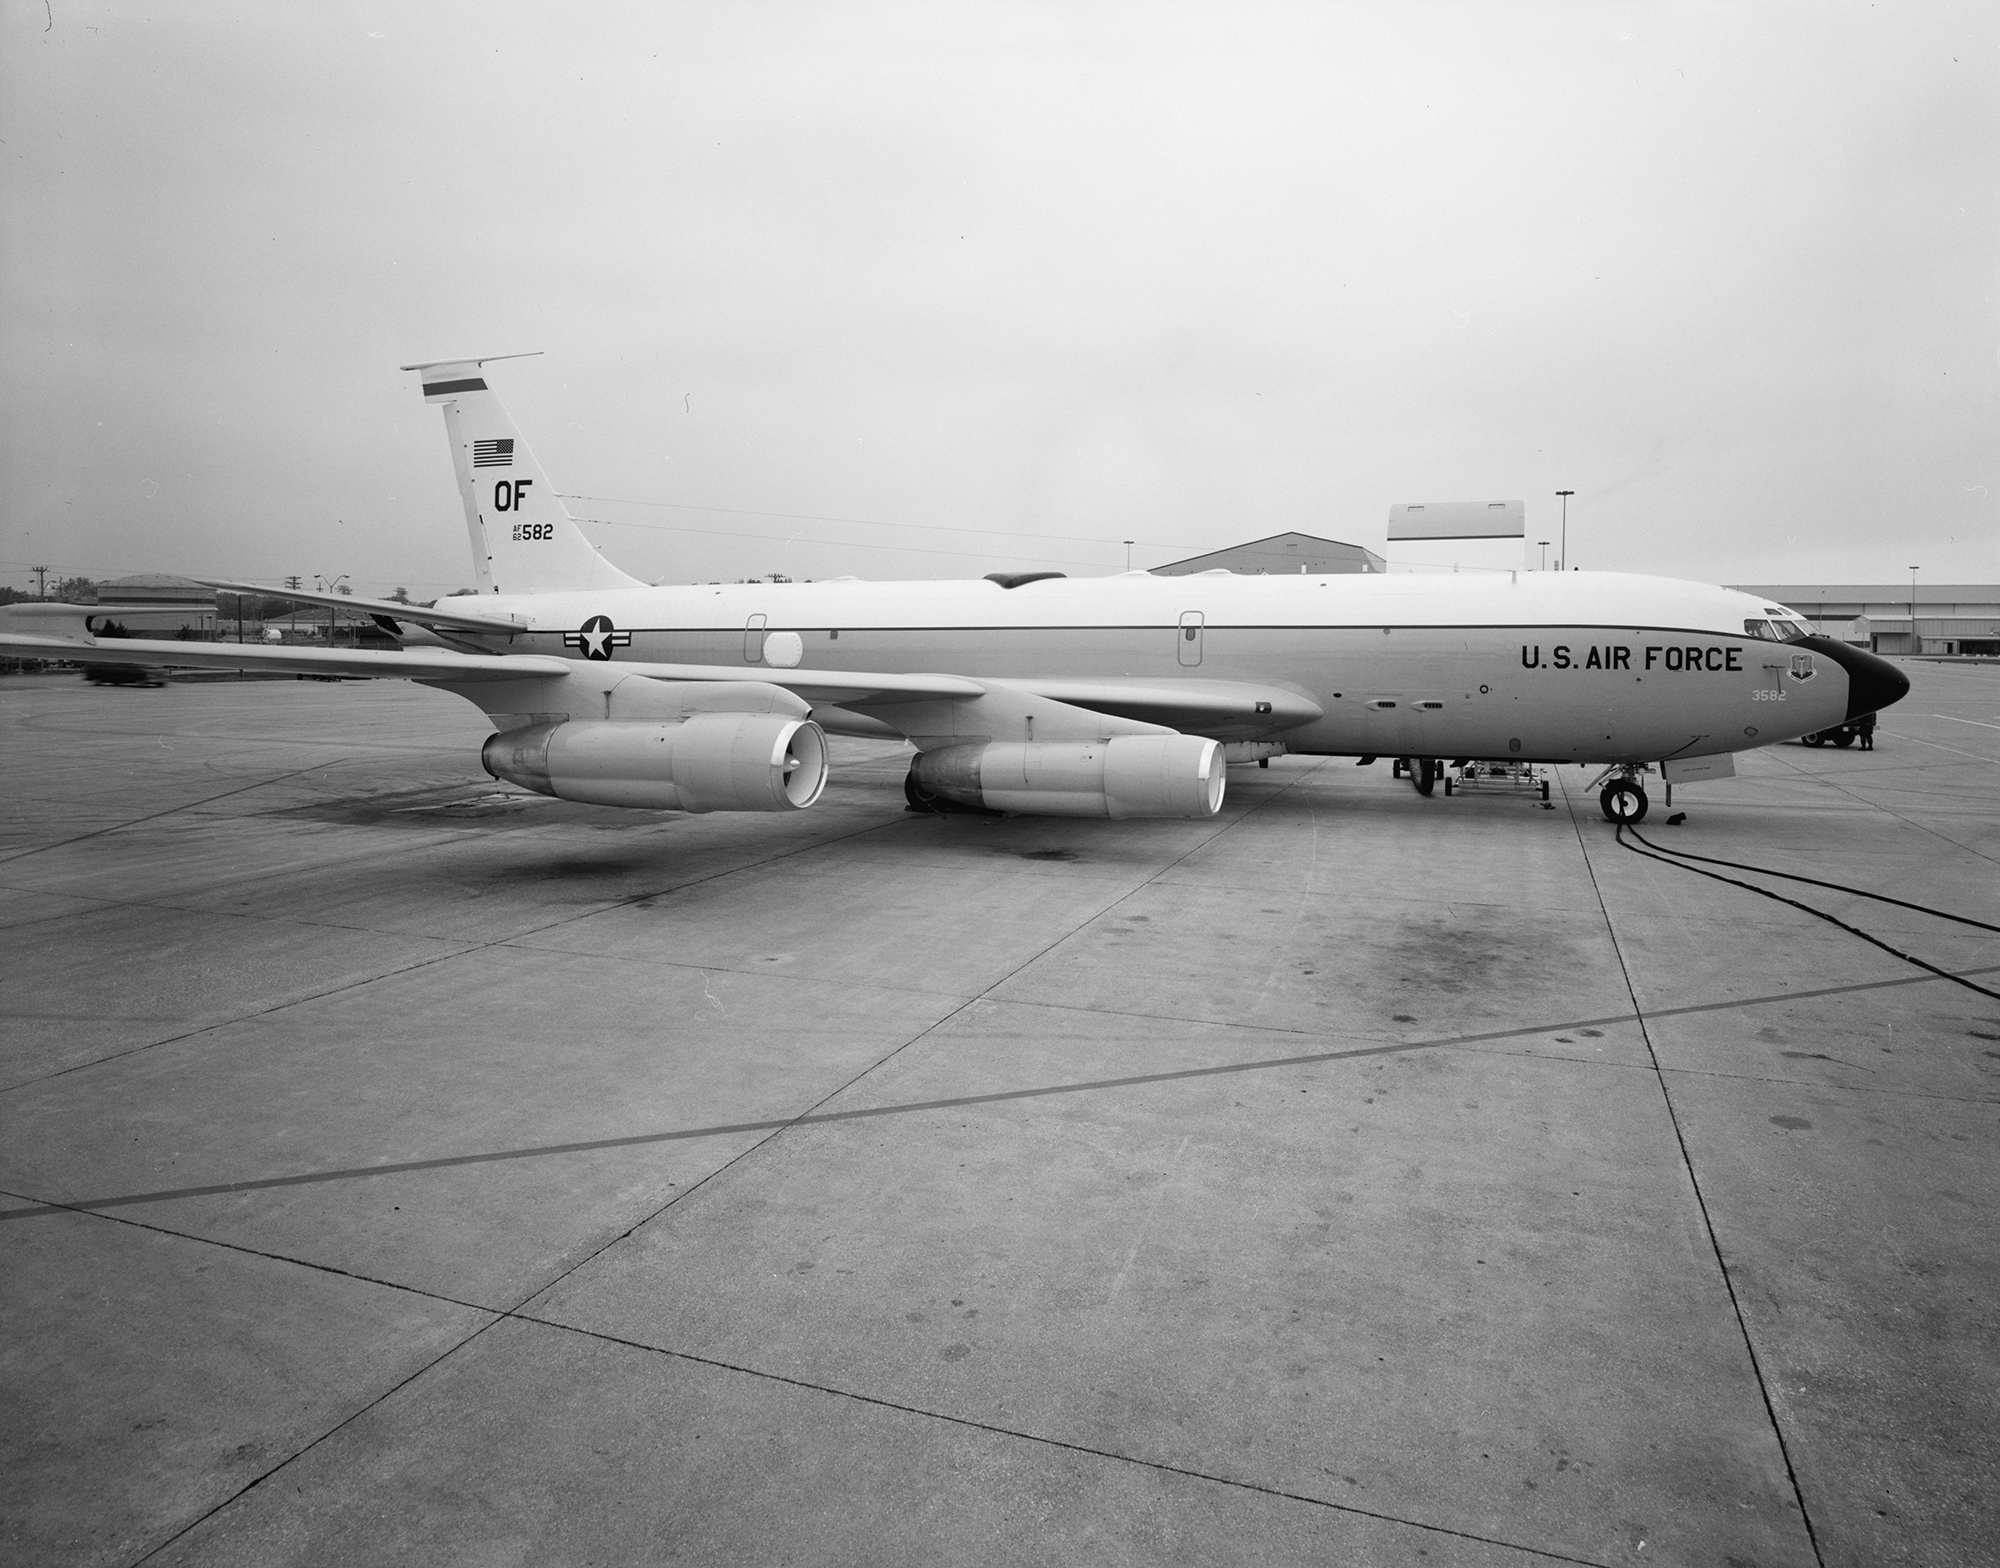
Boeing EC-135 ALCC
Click on the image for a larger view
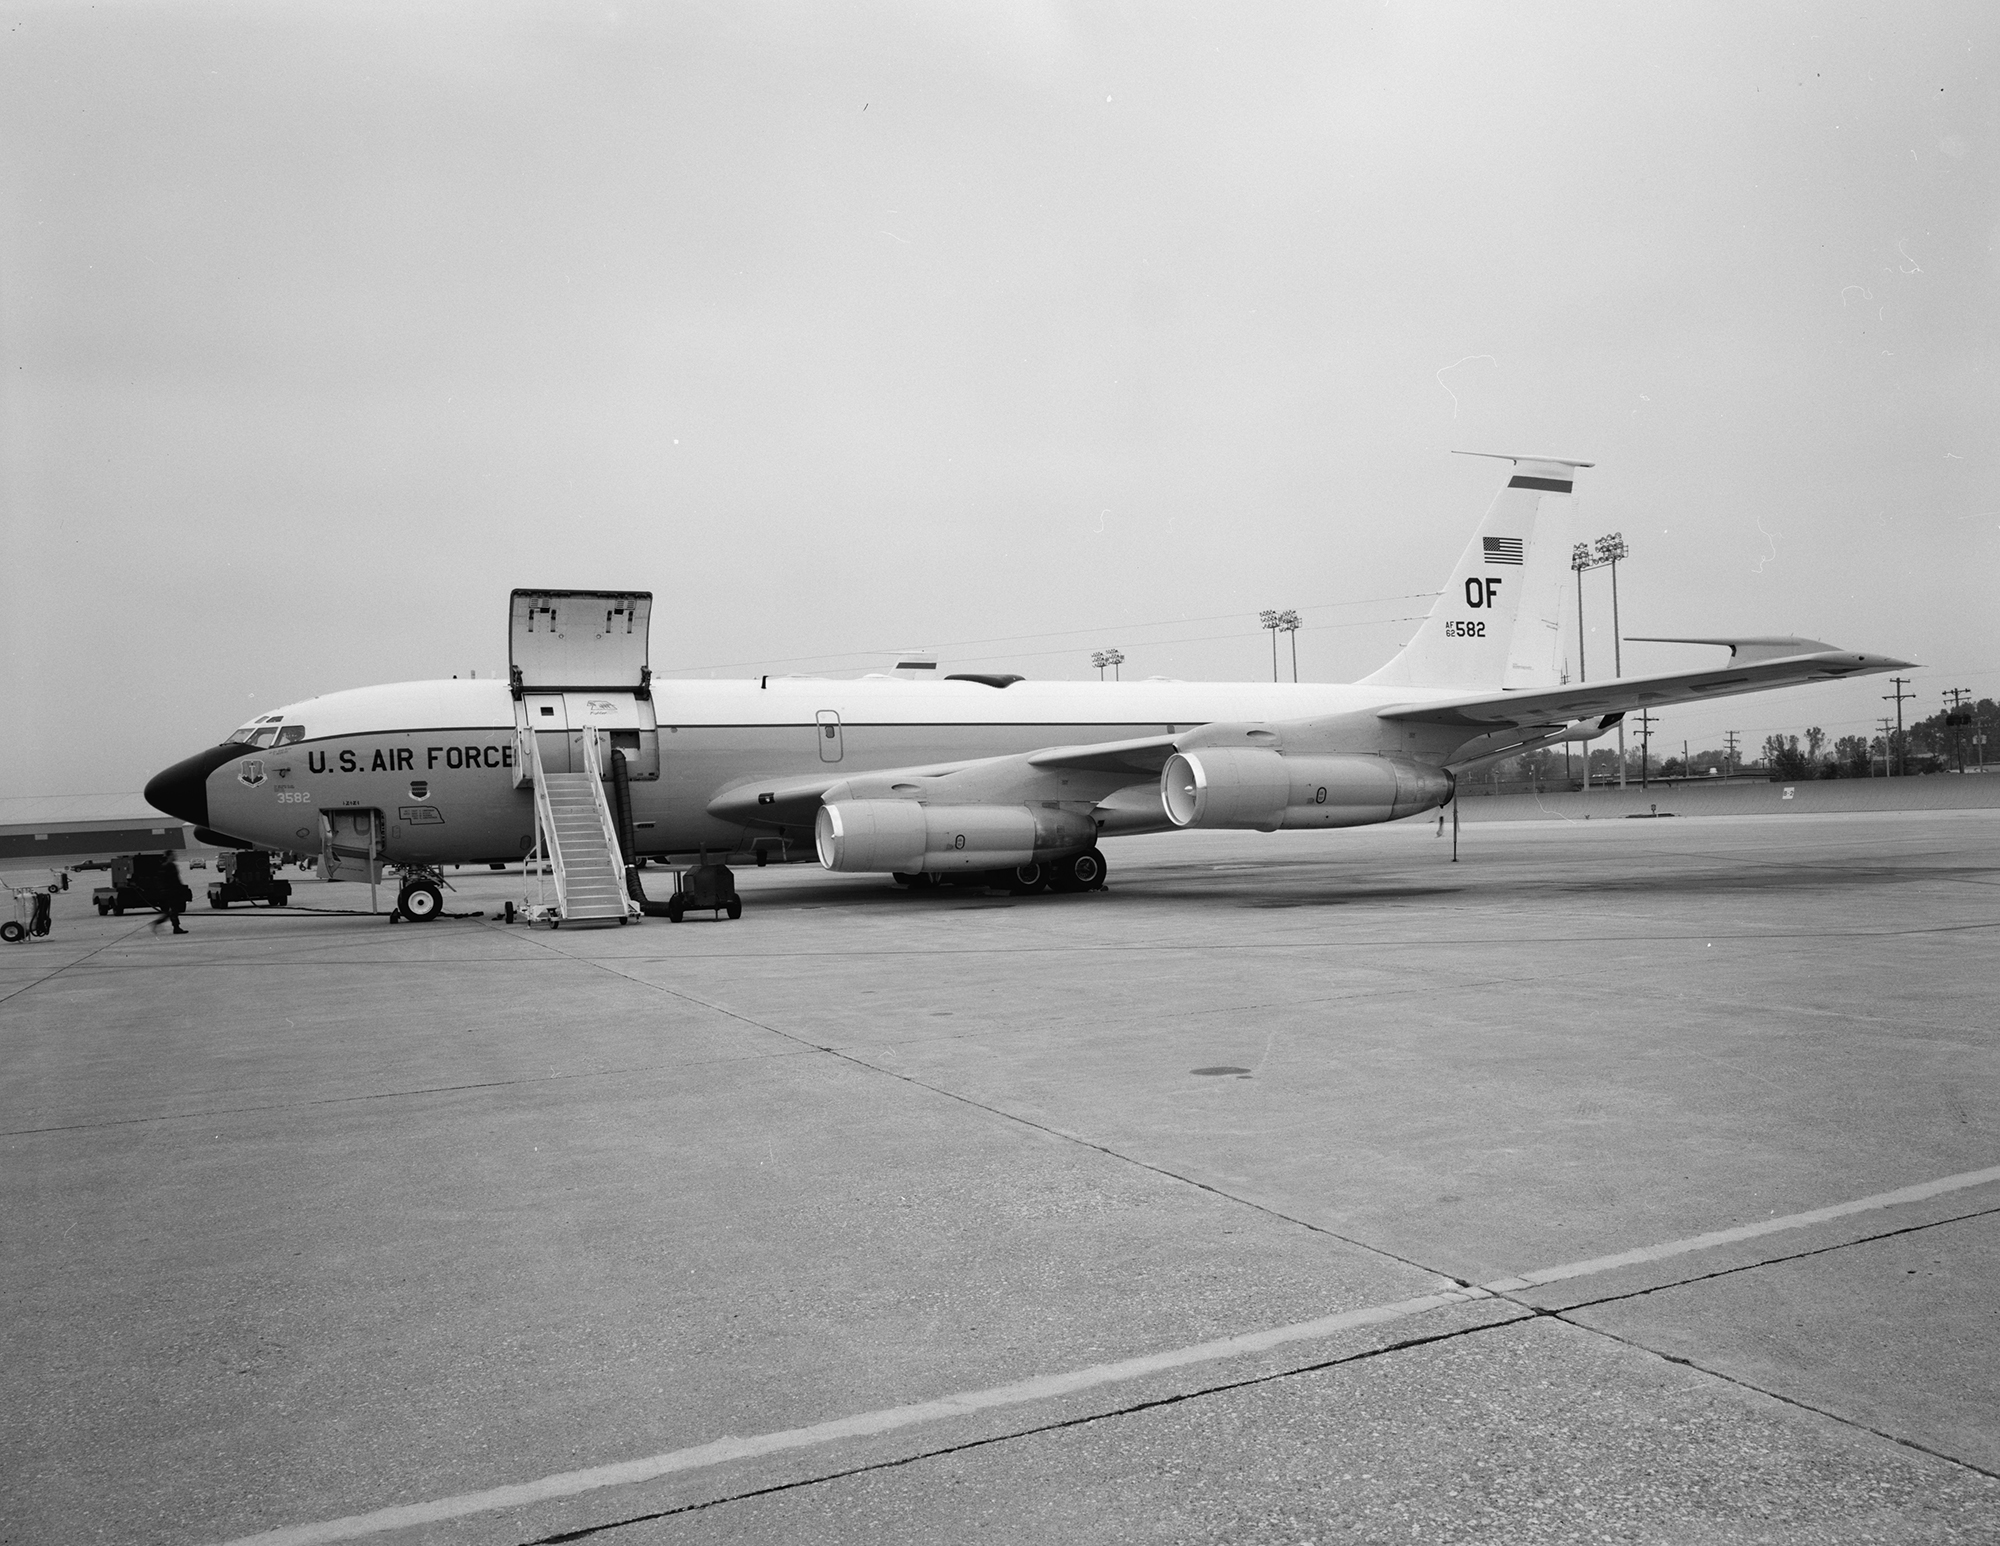
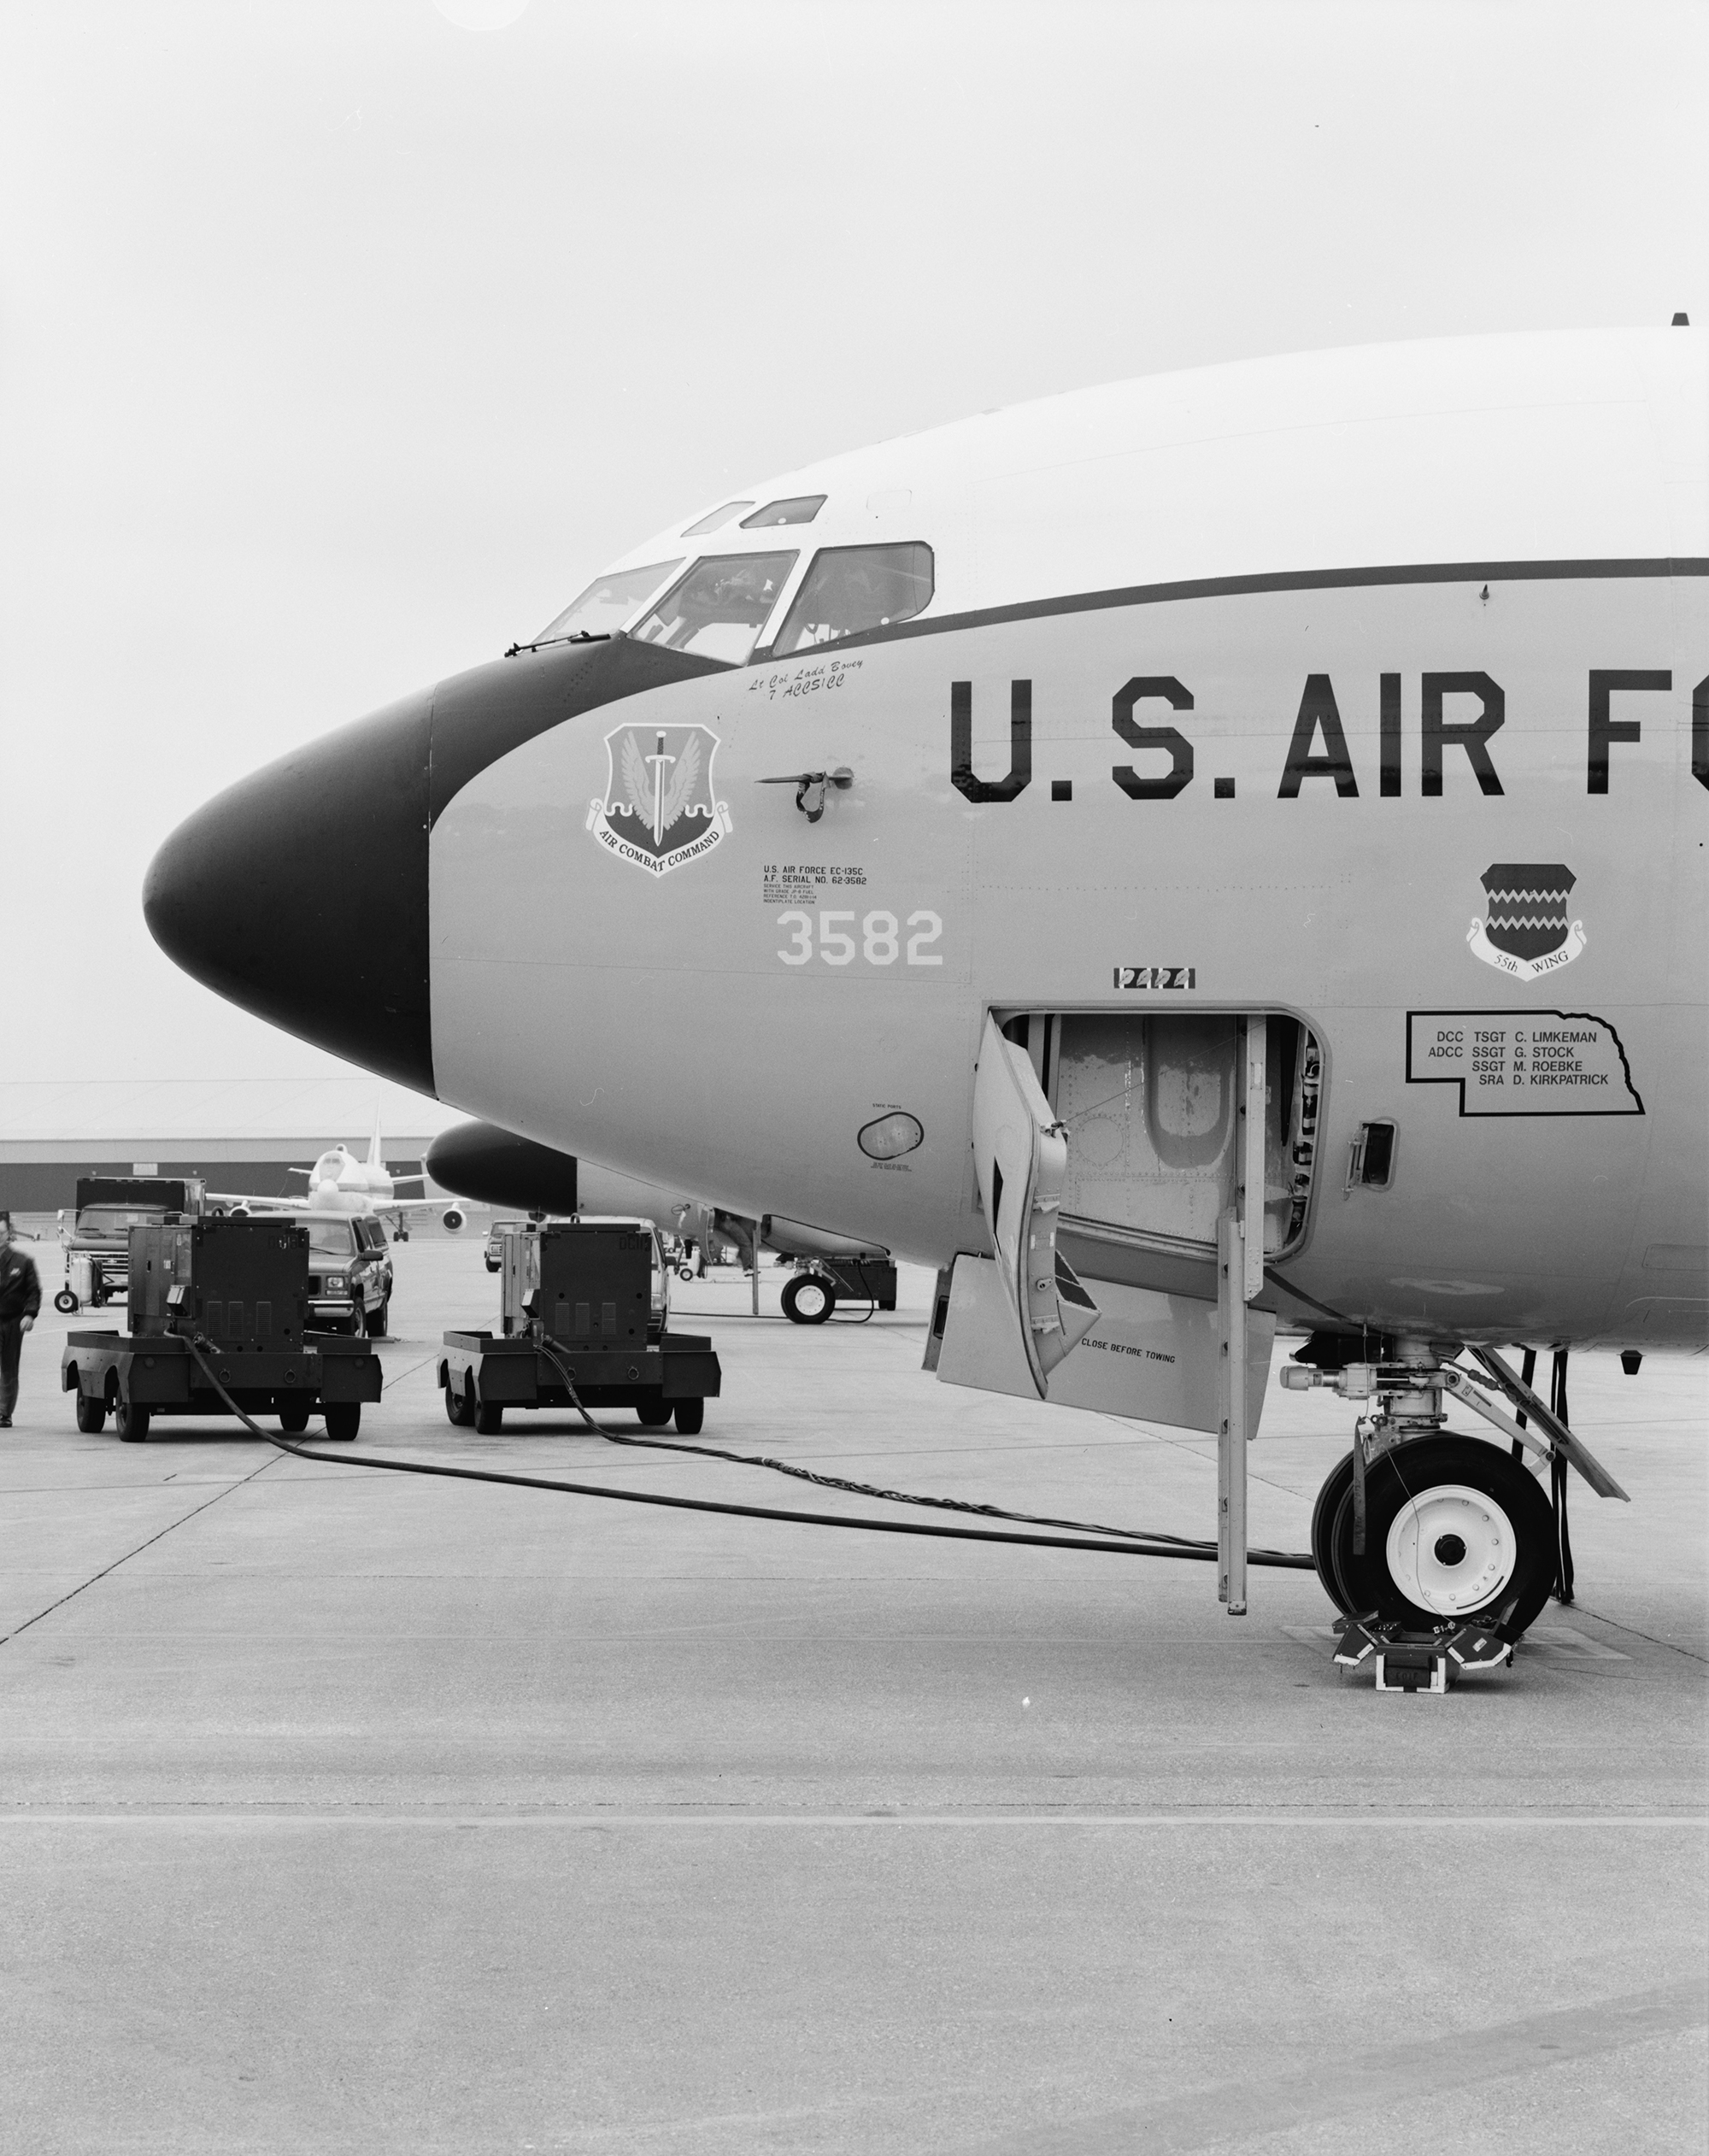
Boeing EC-135 ALCC With Open Door
Click on the image for a larger view

Boeing EC-135 ALCC Rear View
Click on the image for a larger view
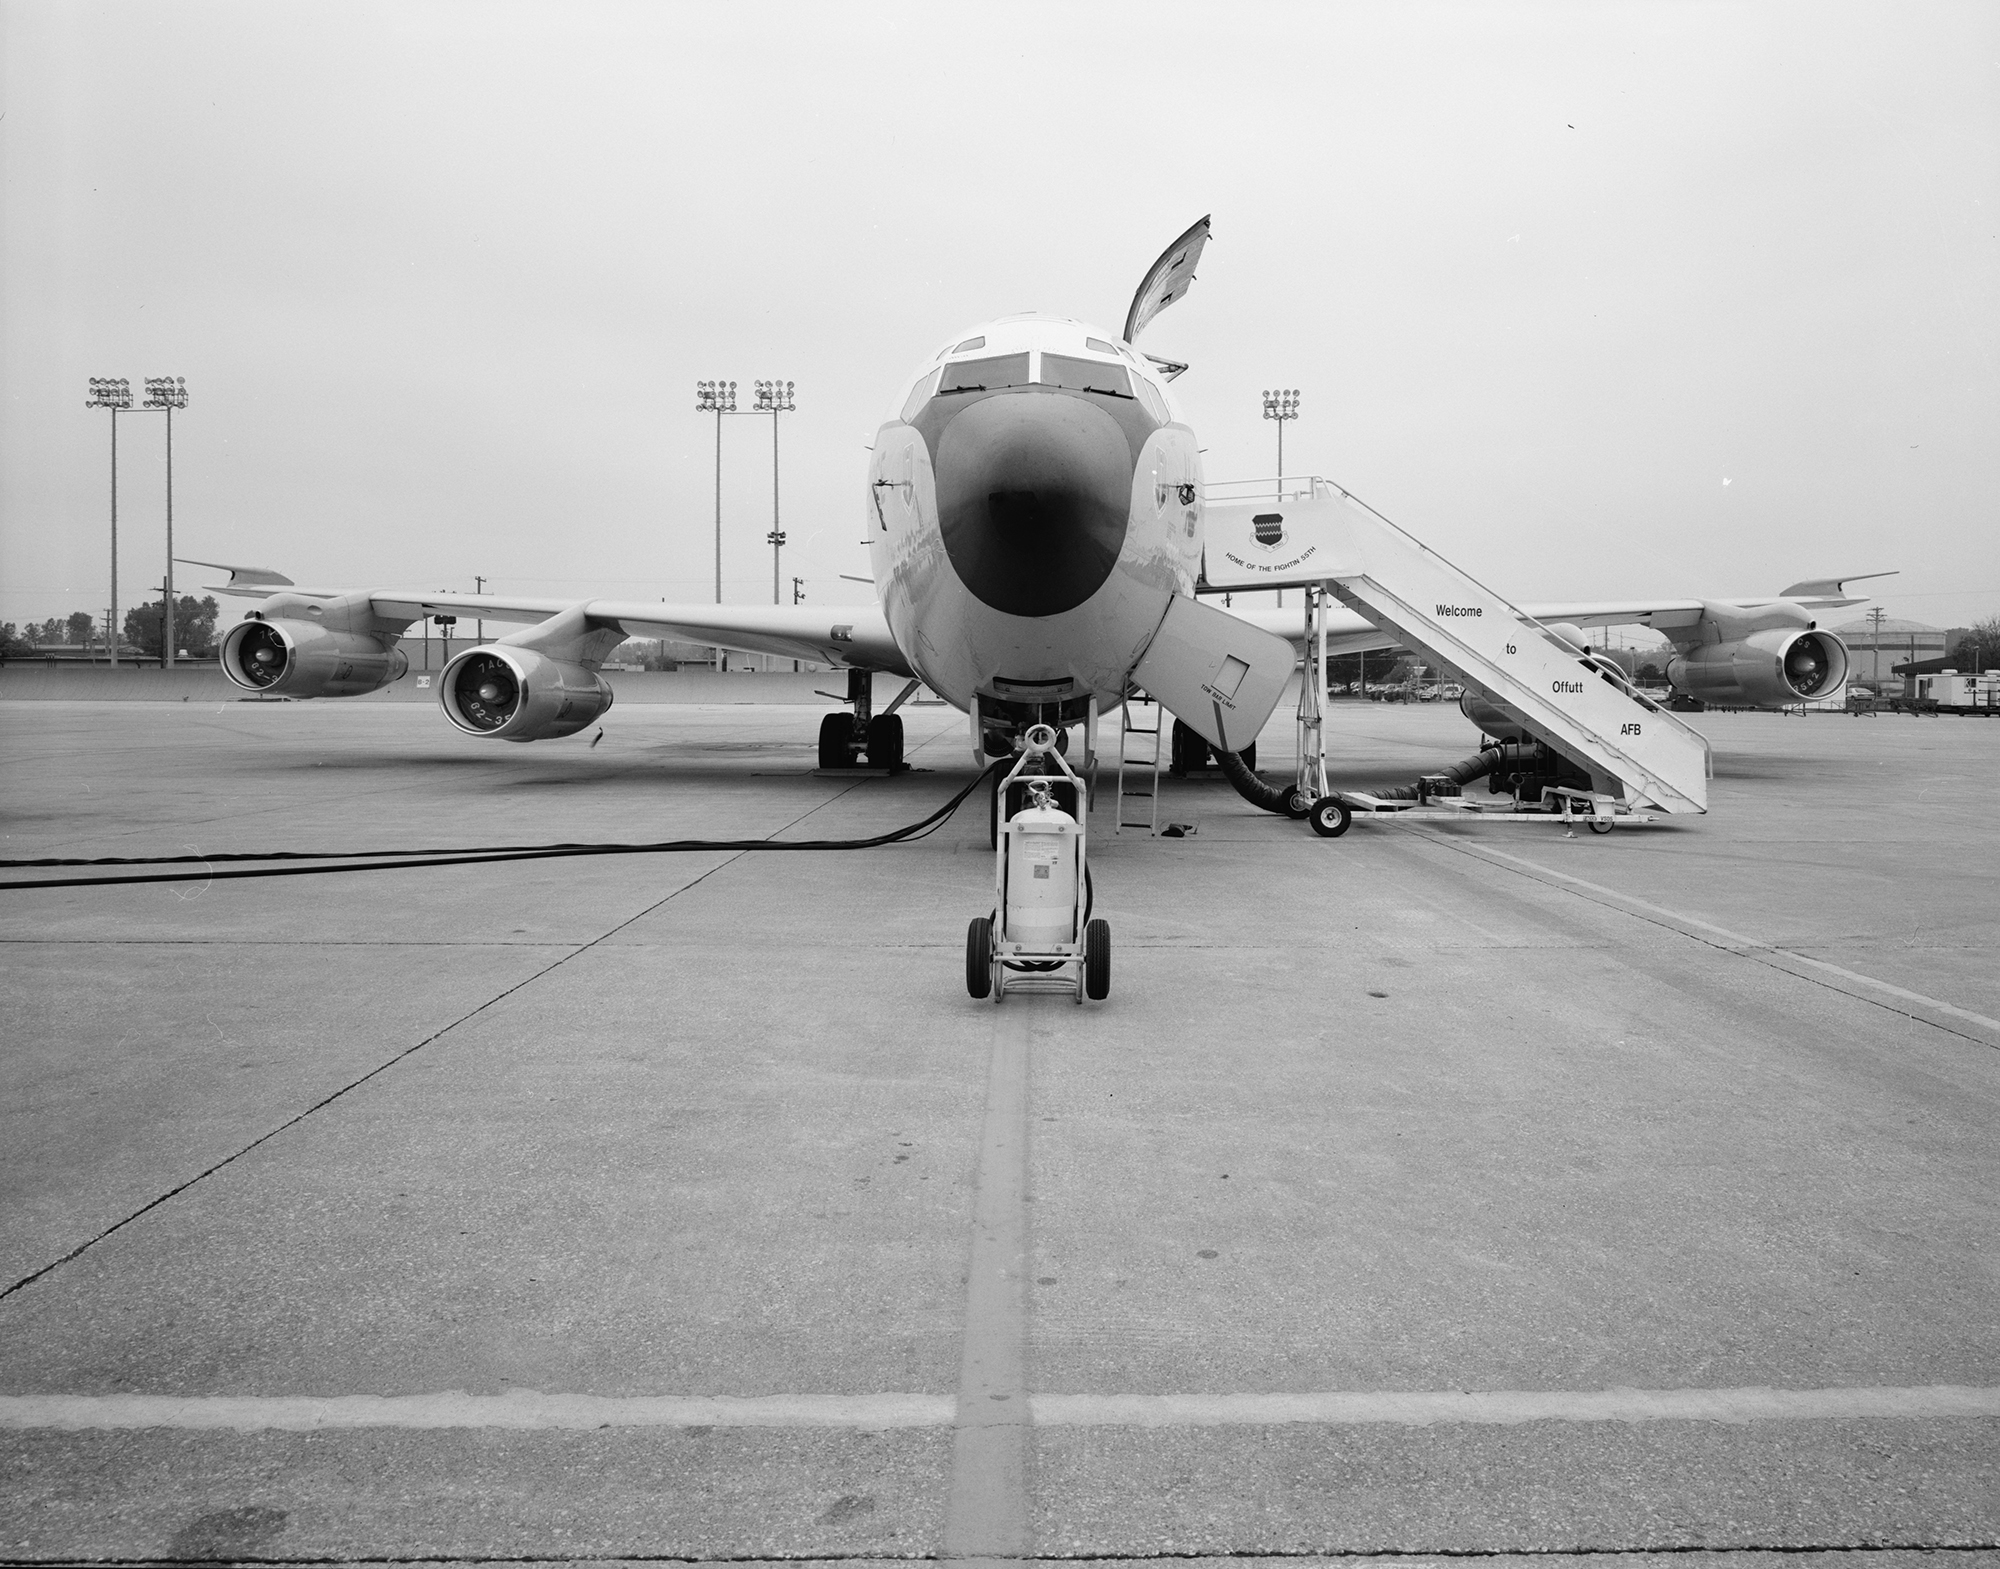
Boeing EC-135 ALCC Head On
Click on the image for a larger view
Boeing EC-135 ALCC Forward View Of Fuselage
Click on the image for a larger view
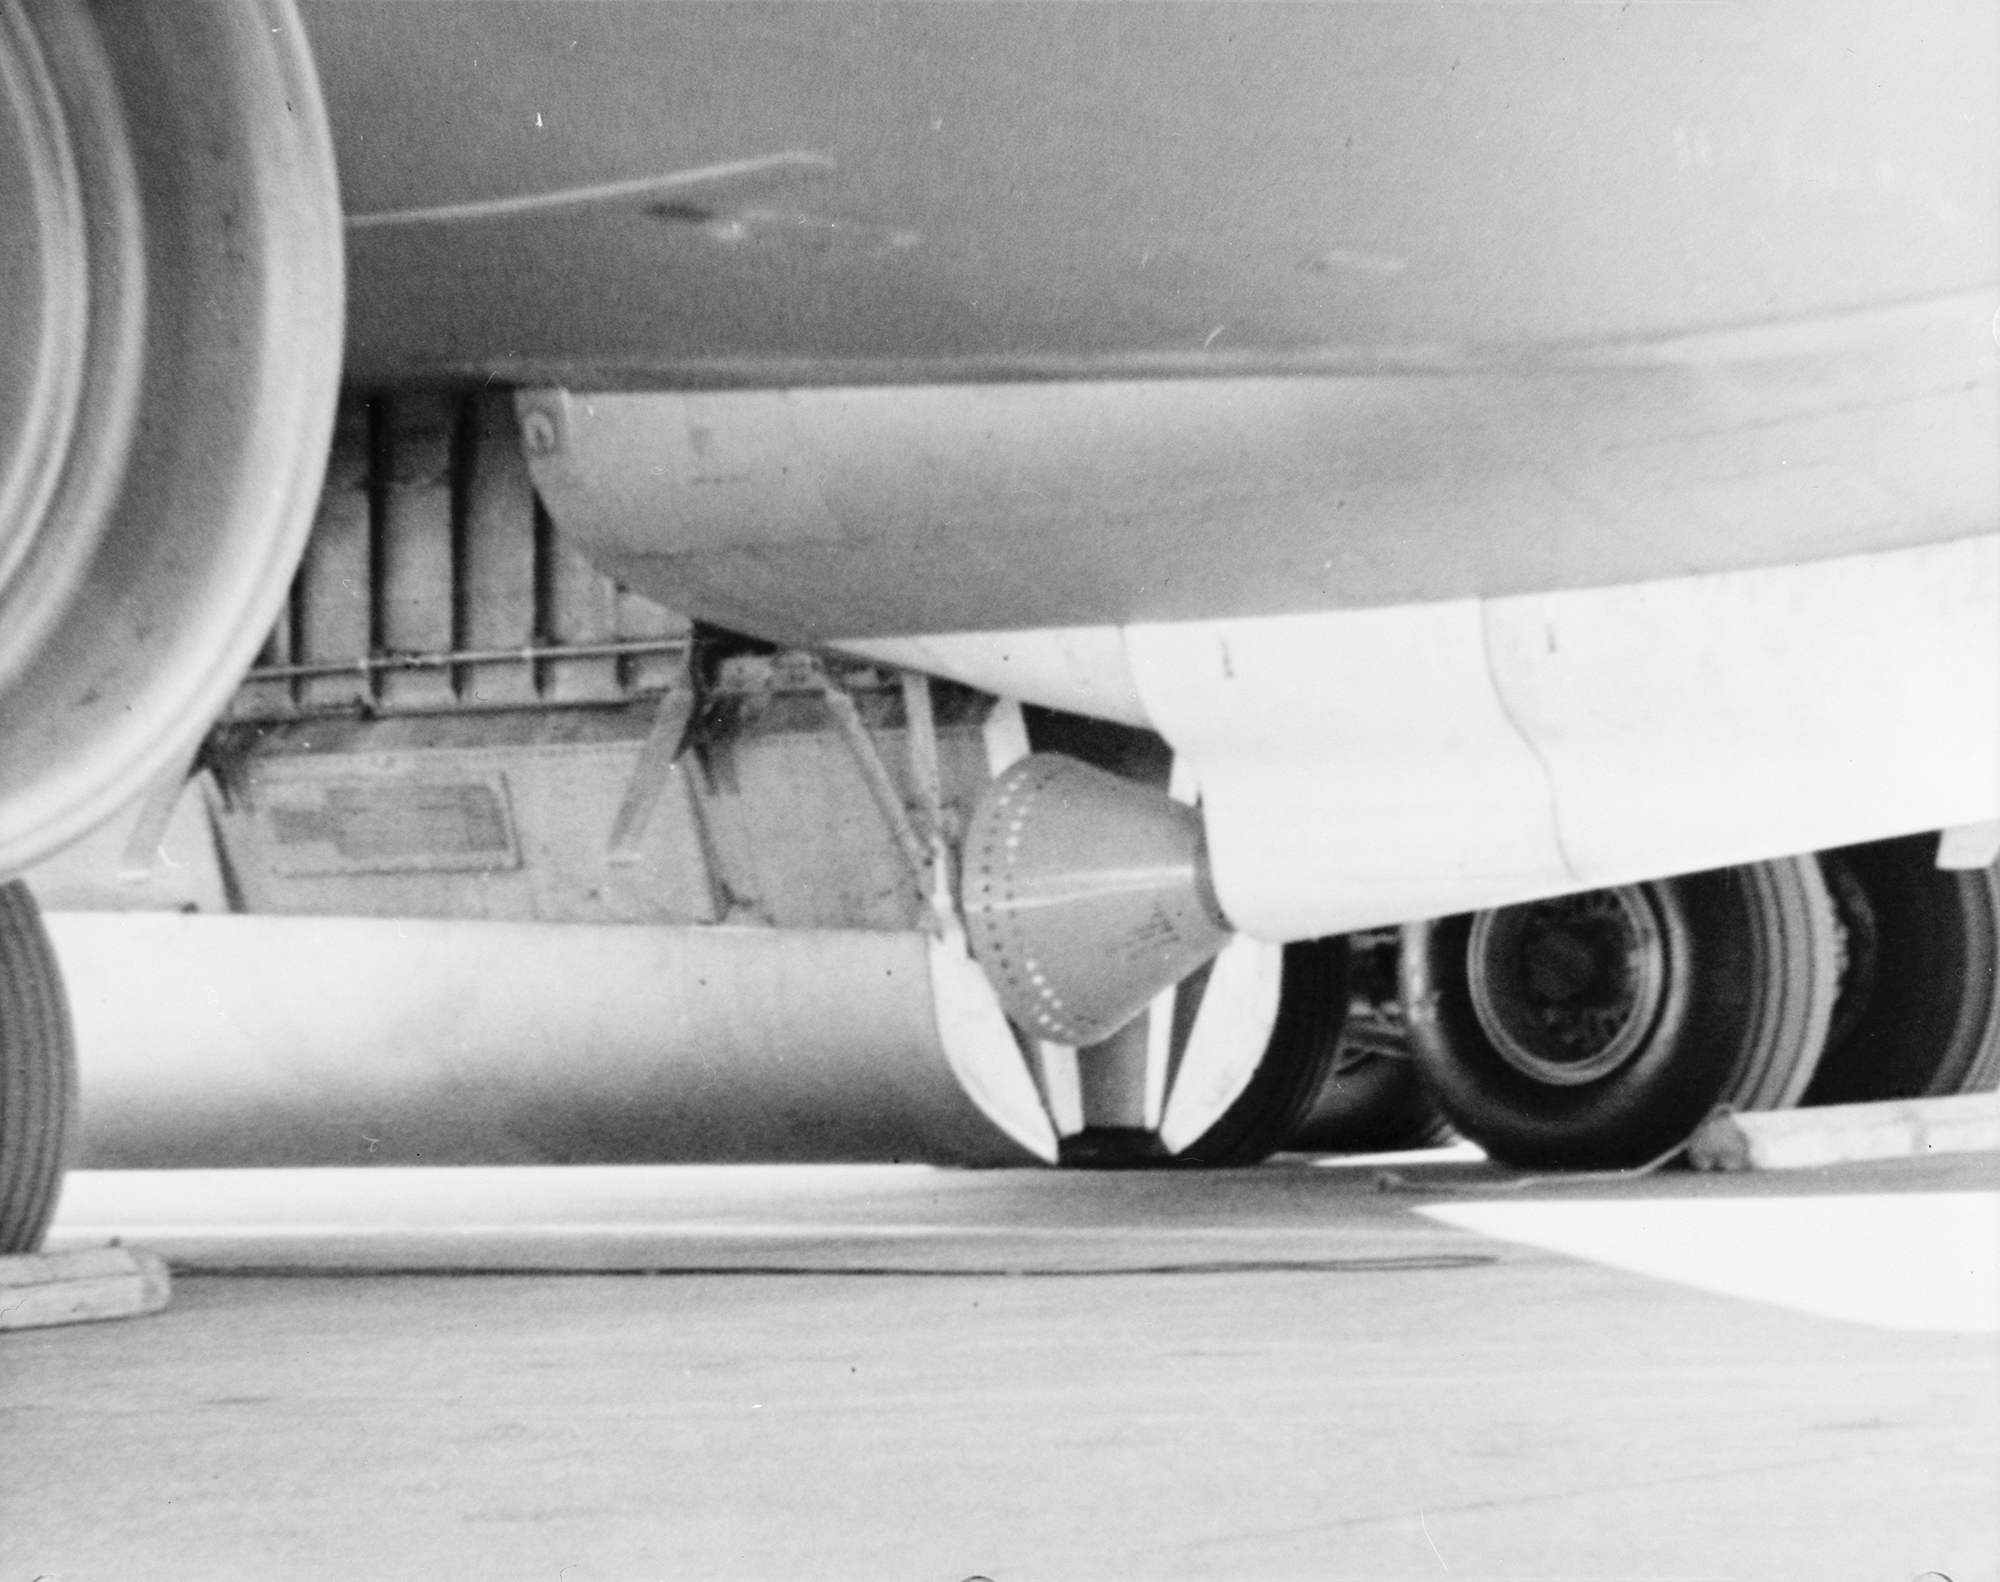
Funnel Drogue For Trailing Wire Antenna
Click on the image for a larger view
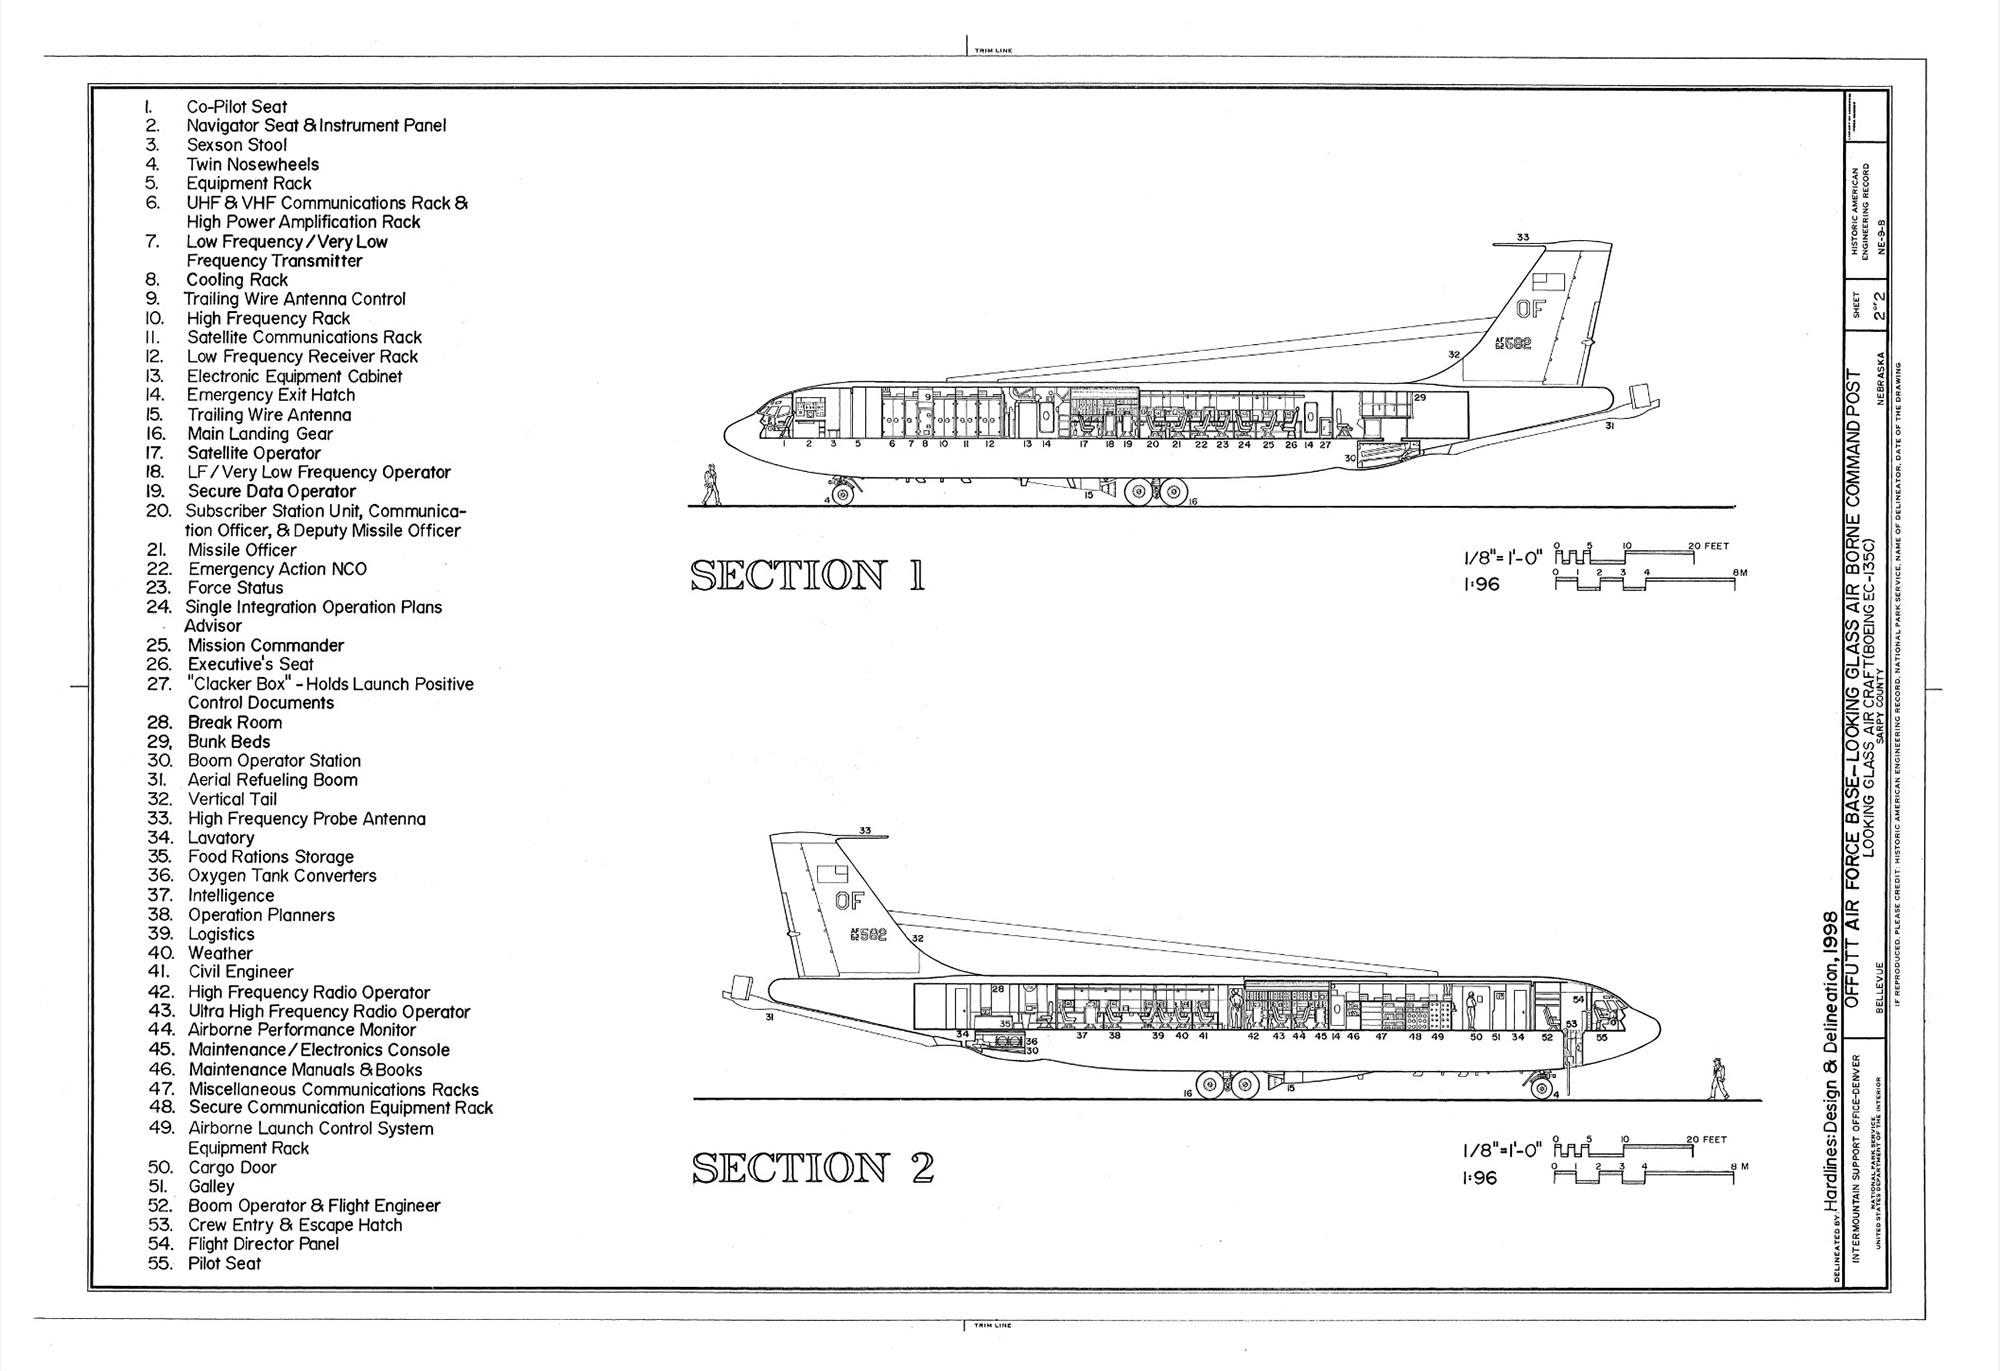
Boeing EC-135 Looking Glass Schematic
Click on the image for a larger view
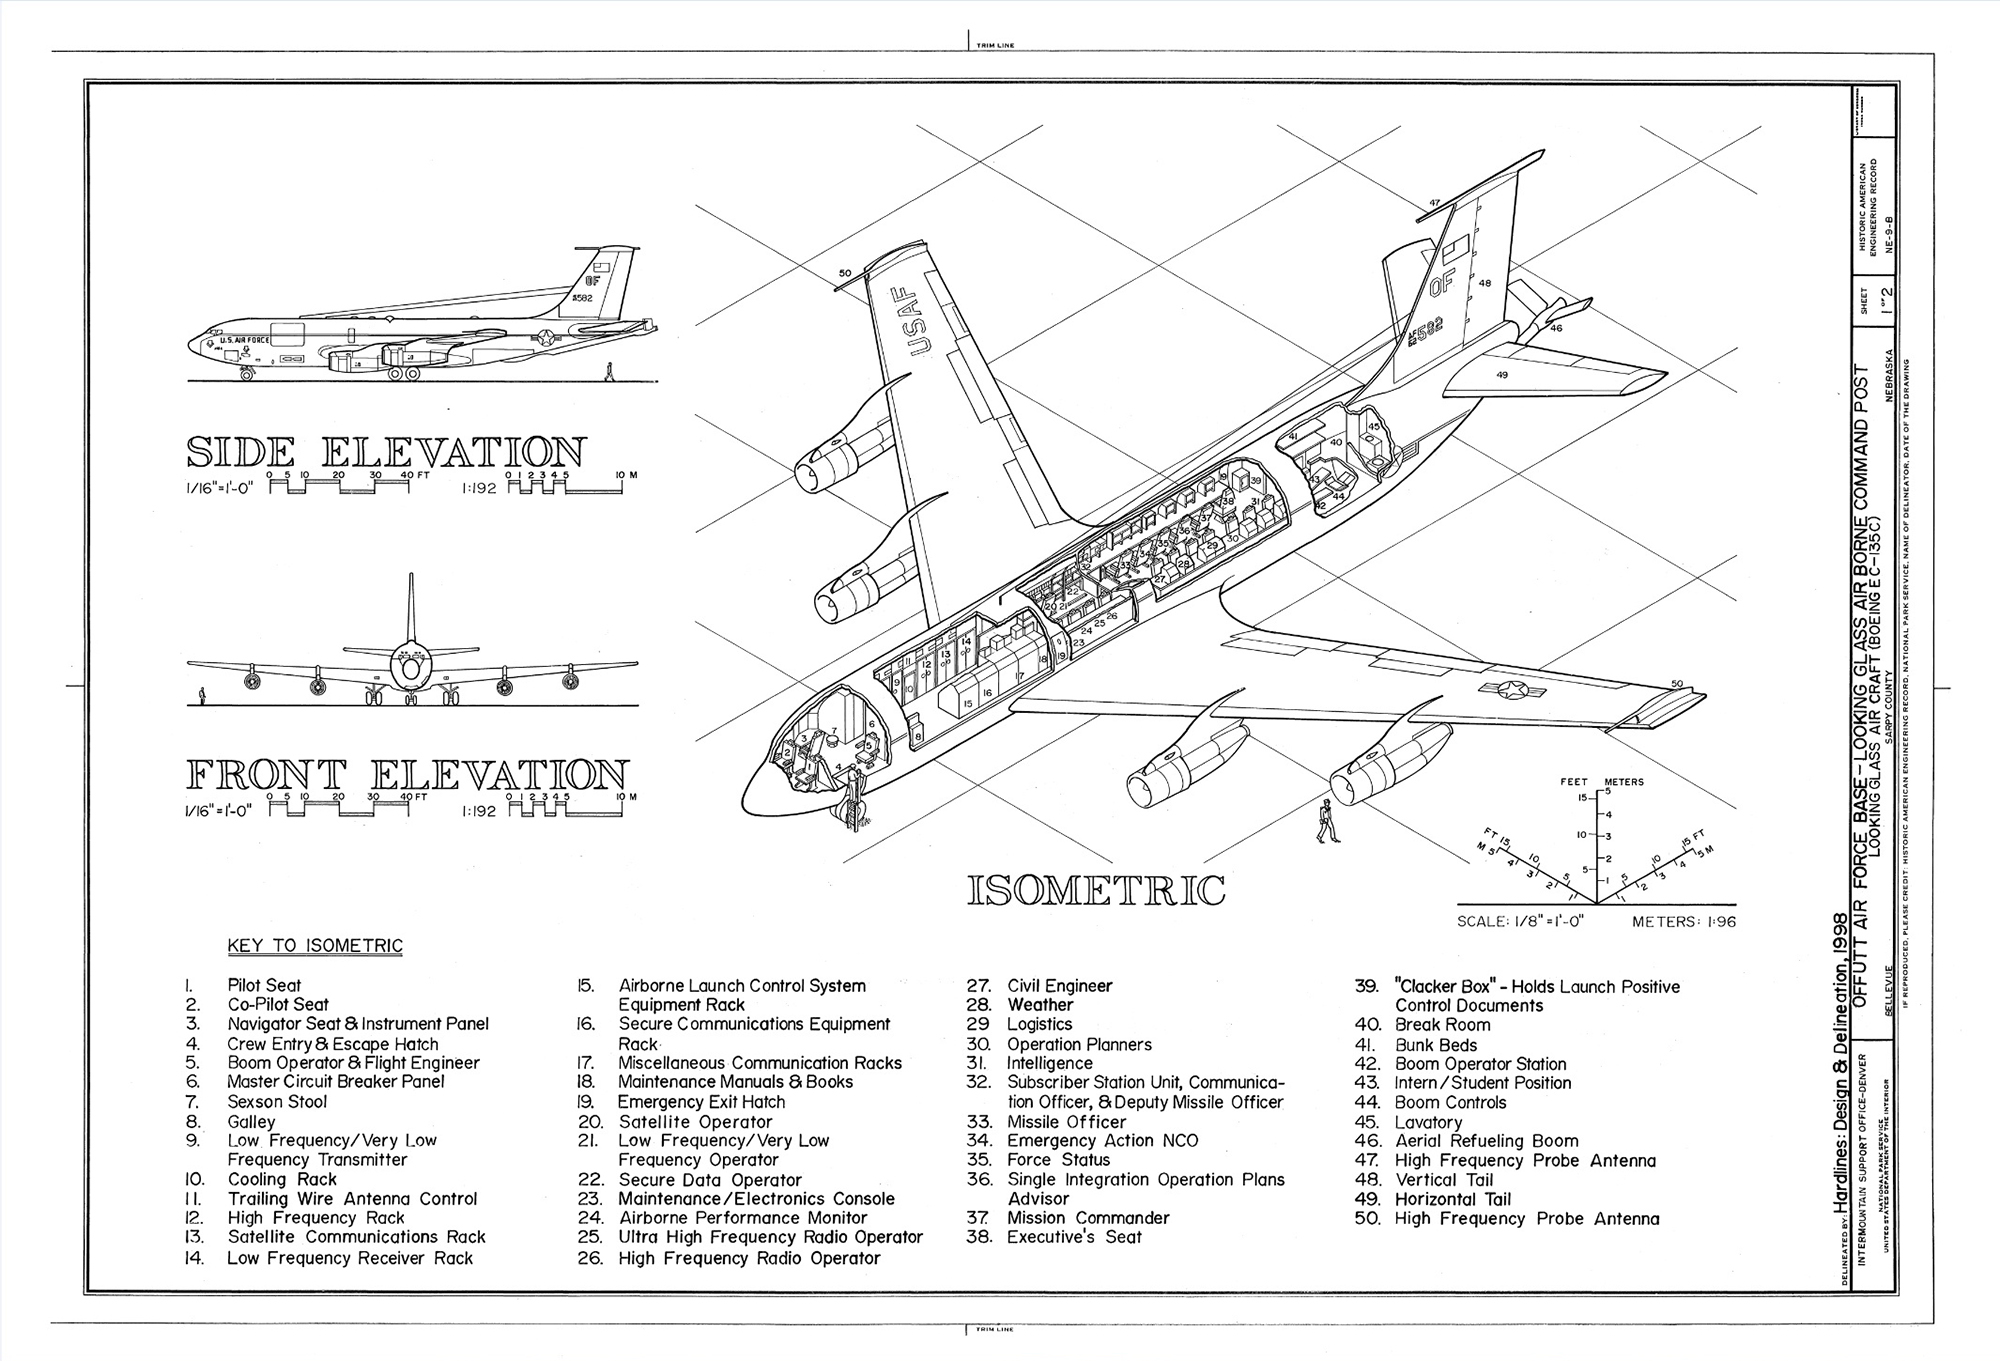
Boeing EC-135 Looking Glass Schematic
Click on the image for a larger view
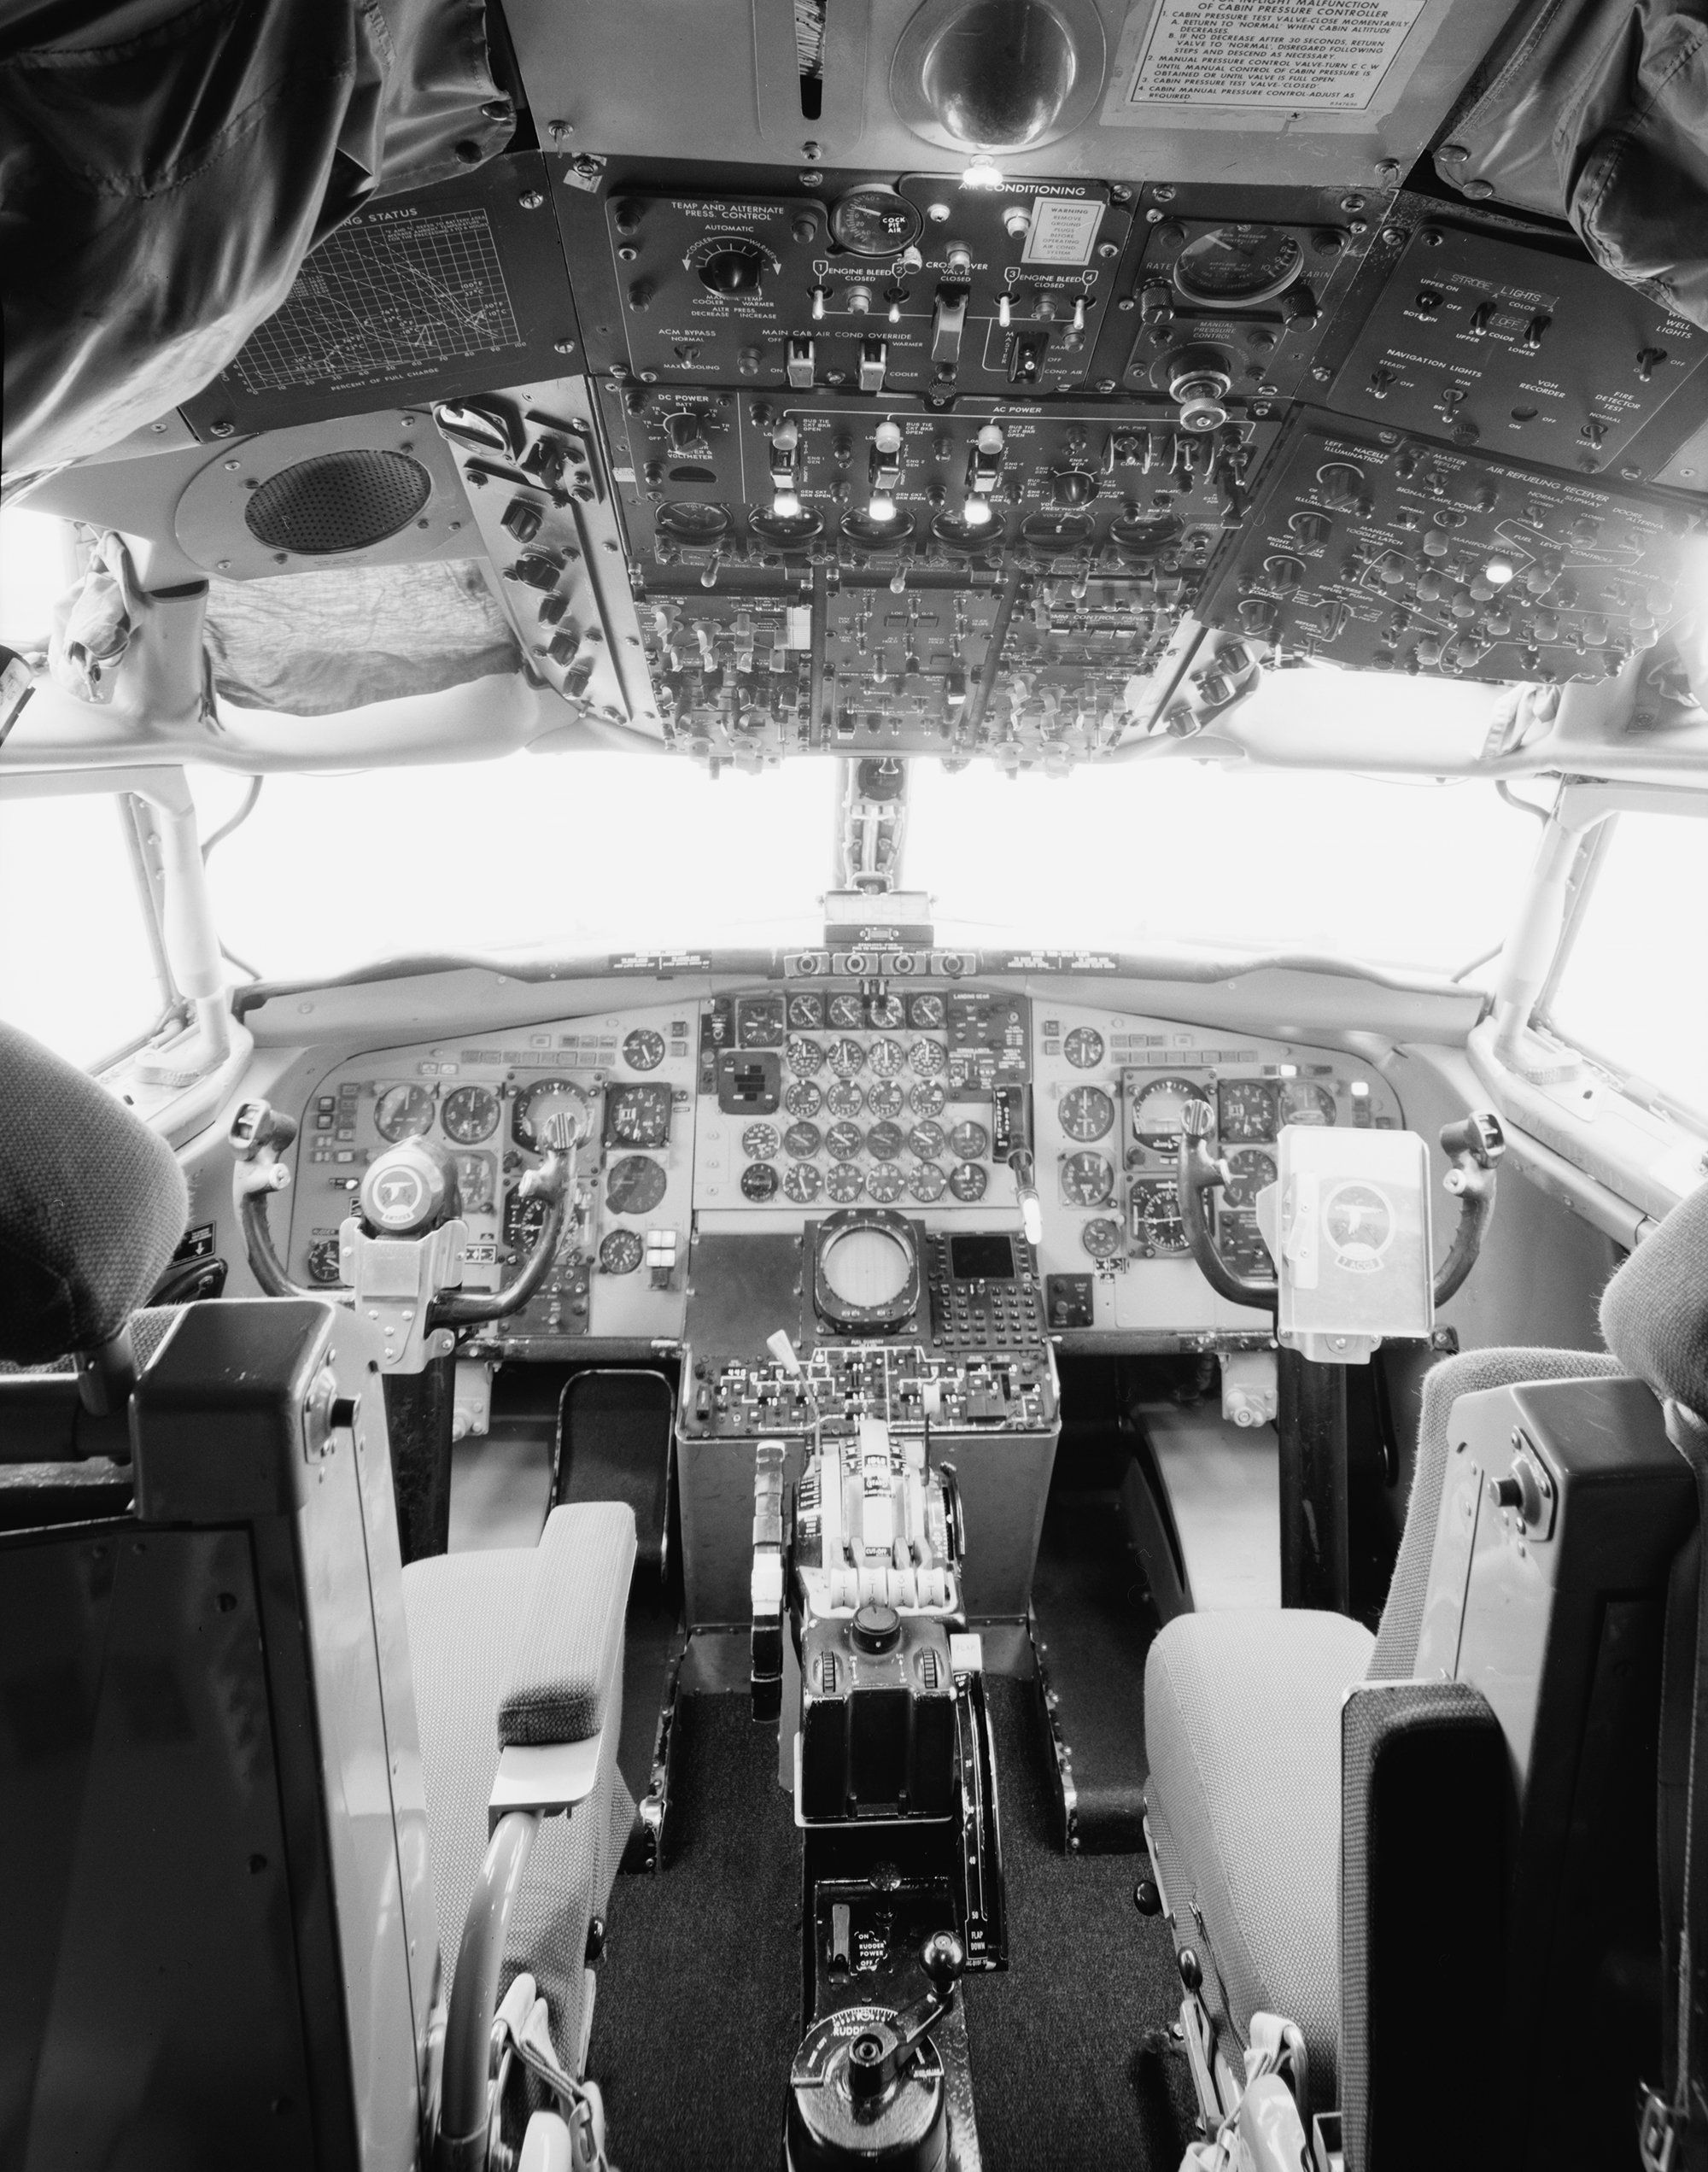
Boeing EC-135 Cockpit
Click on the image for a larger view
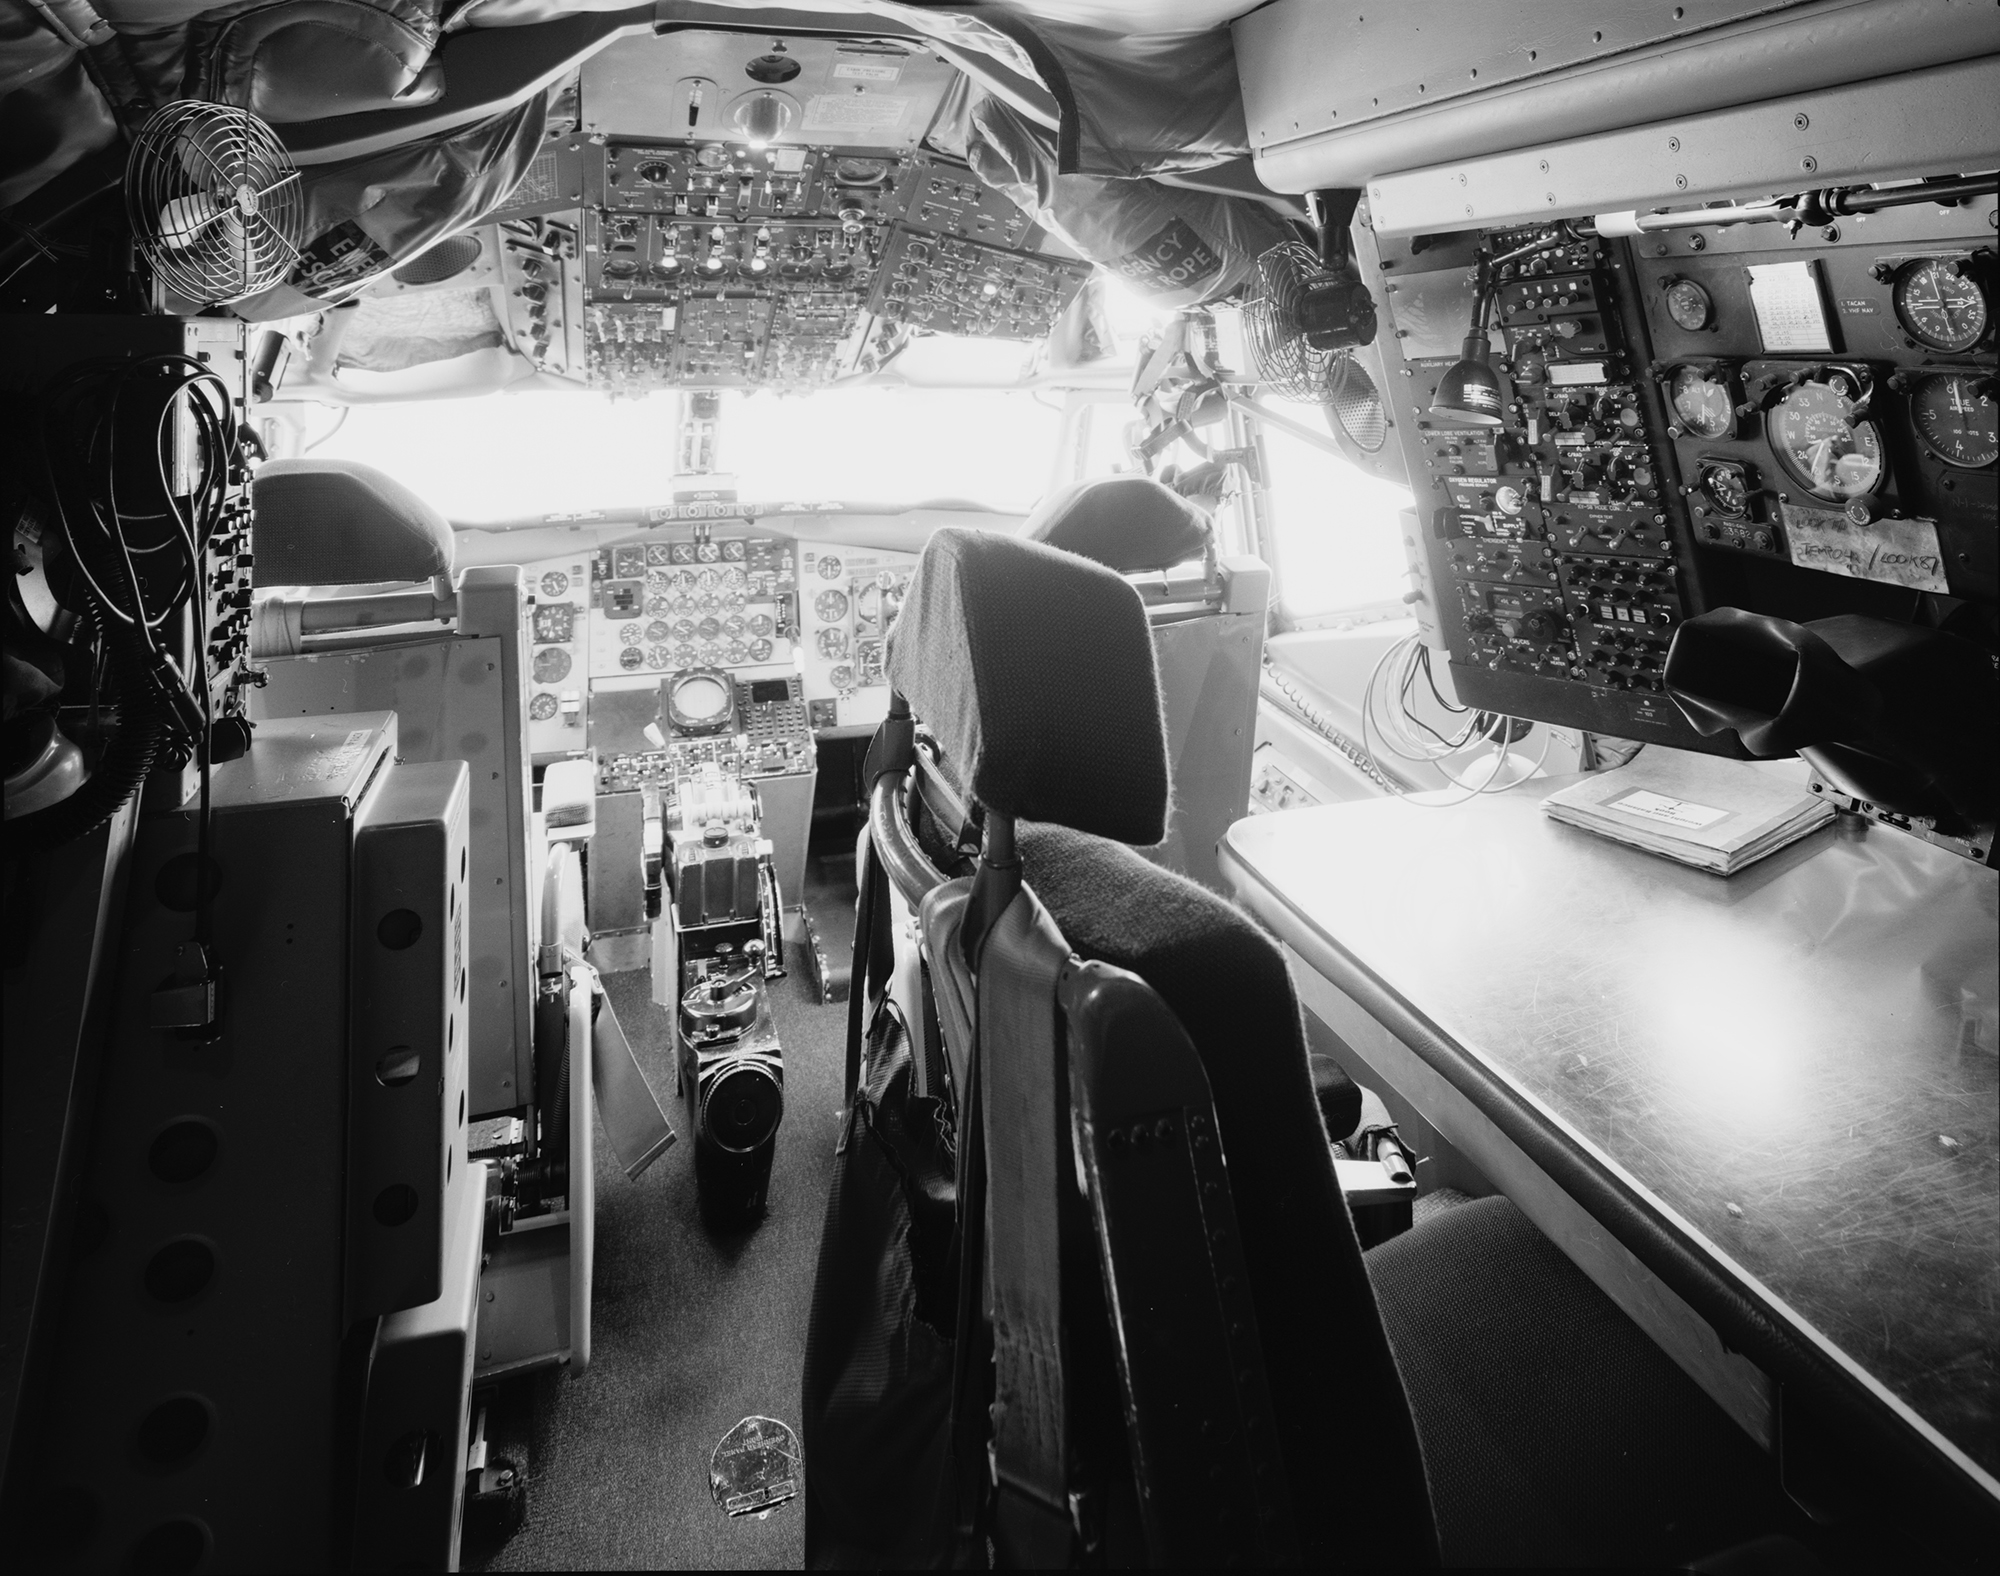
Boeing EC-135 Cockpit With Flight Engineer Station
Click on the image for a larger view
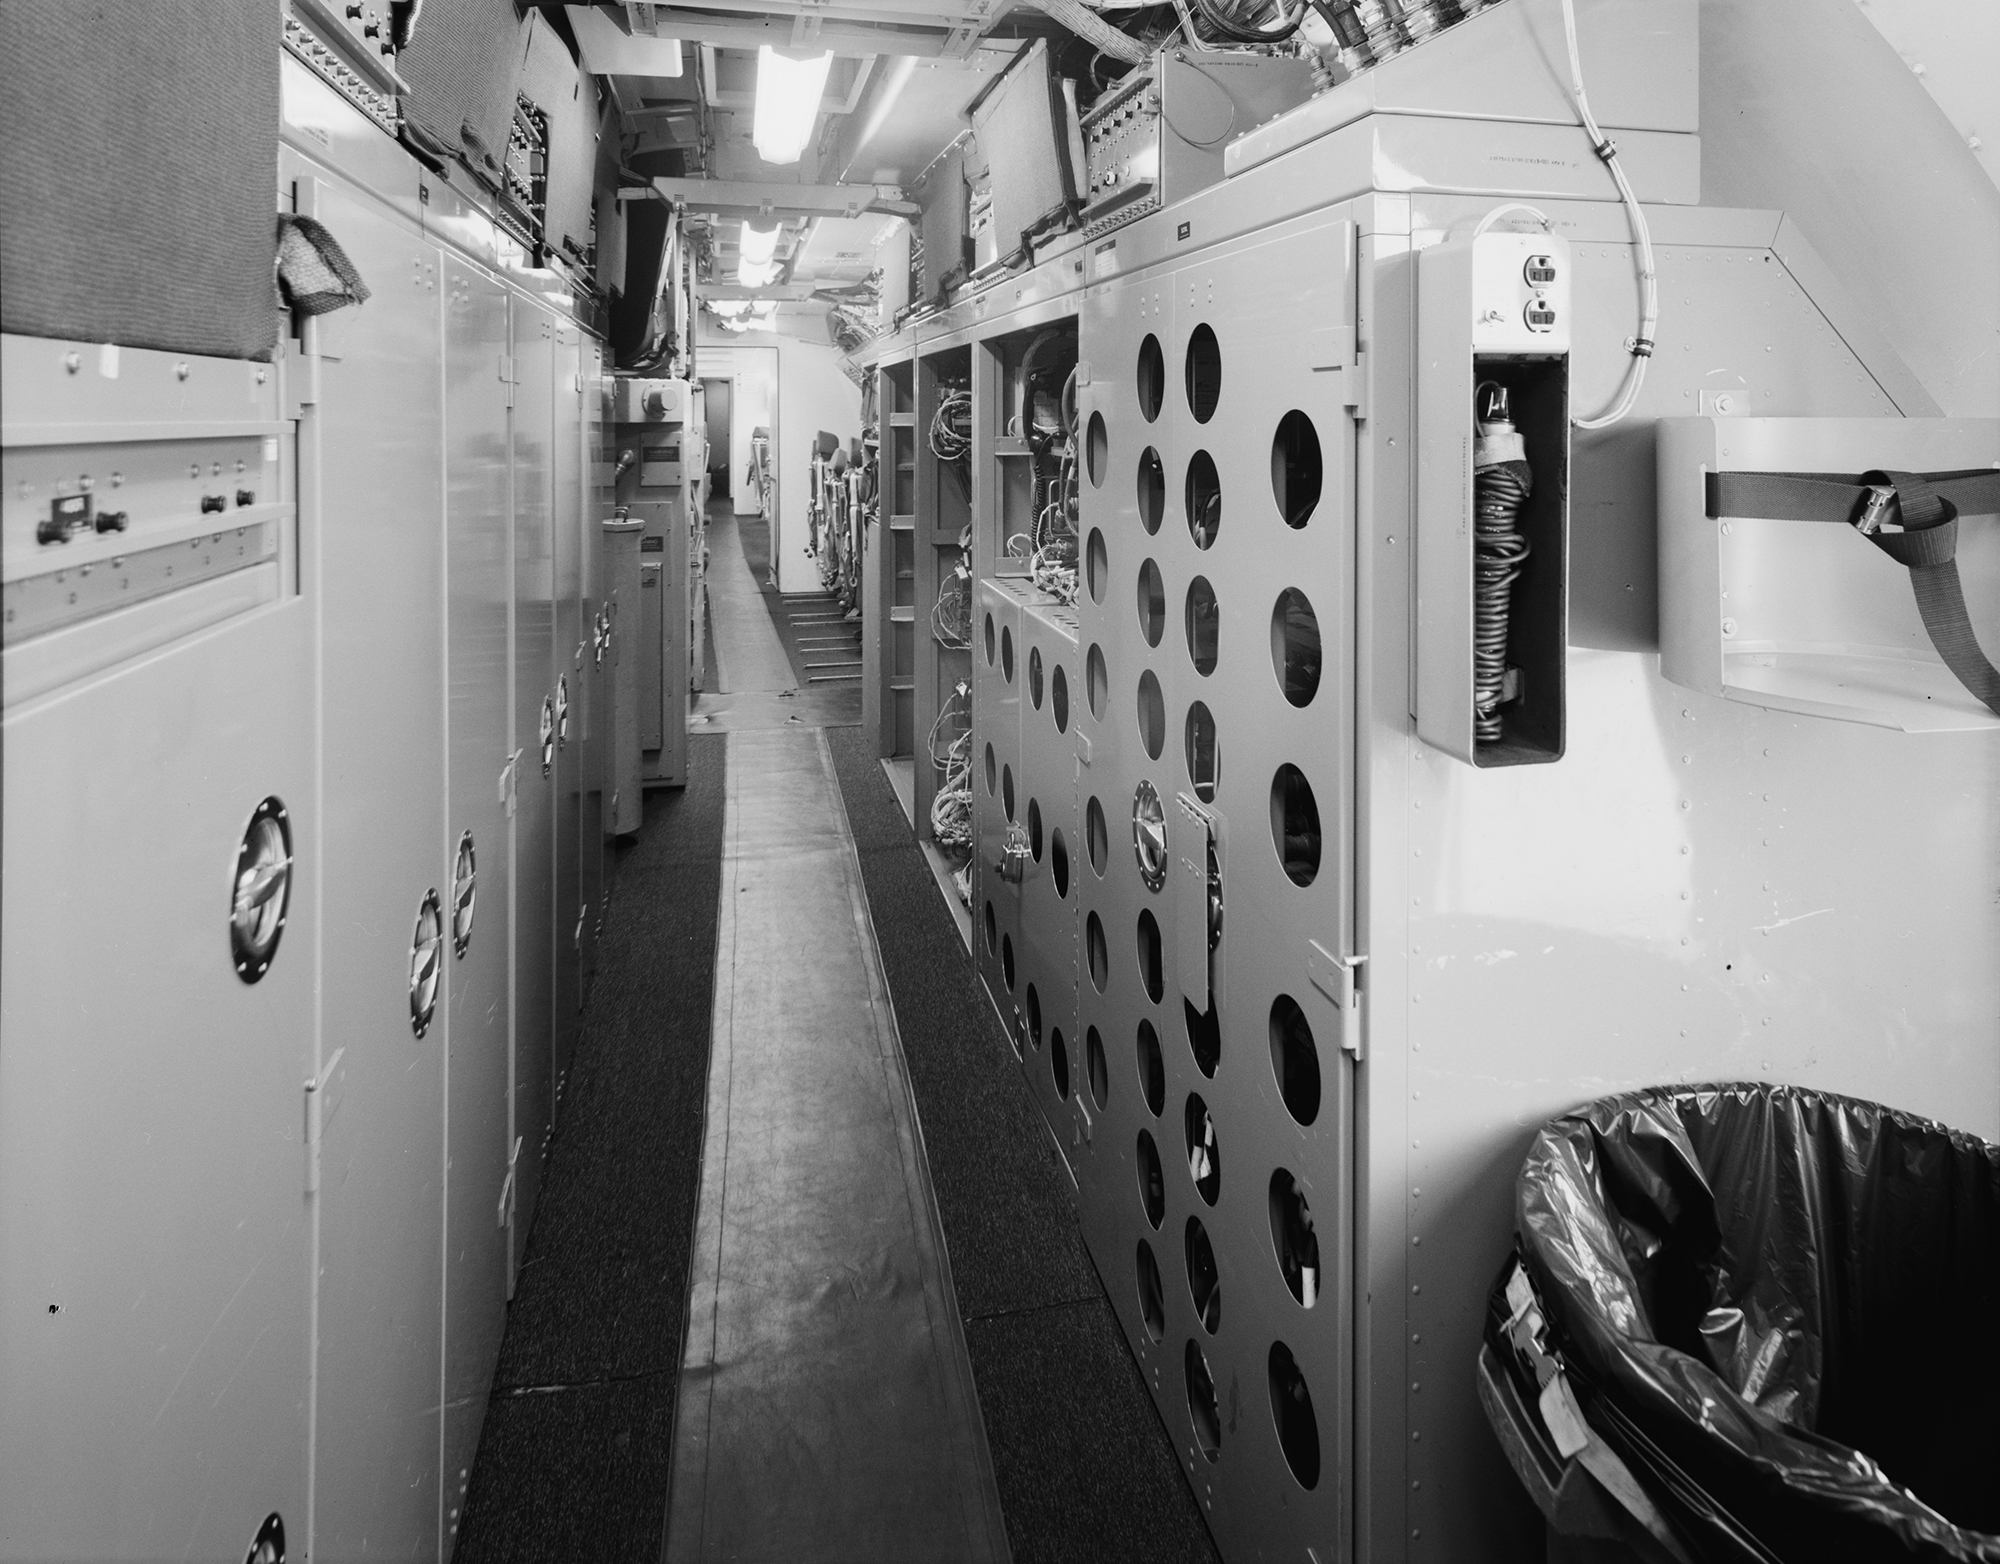
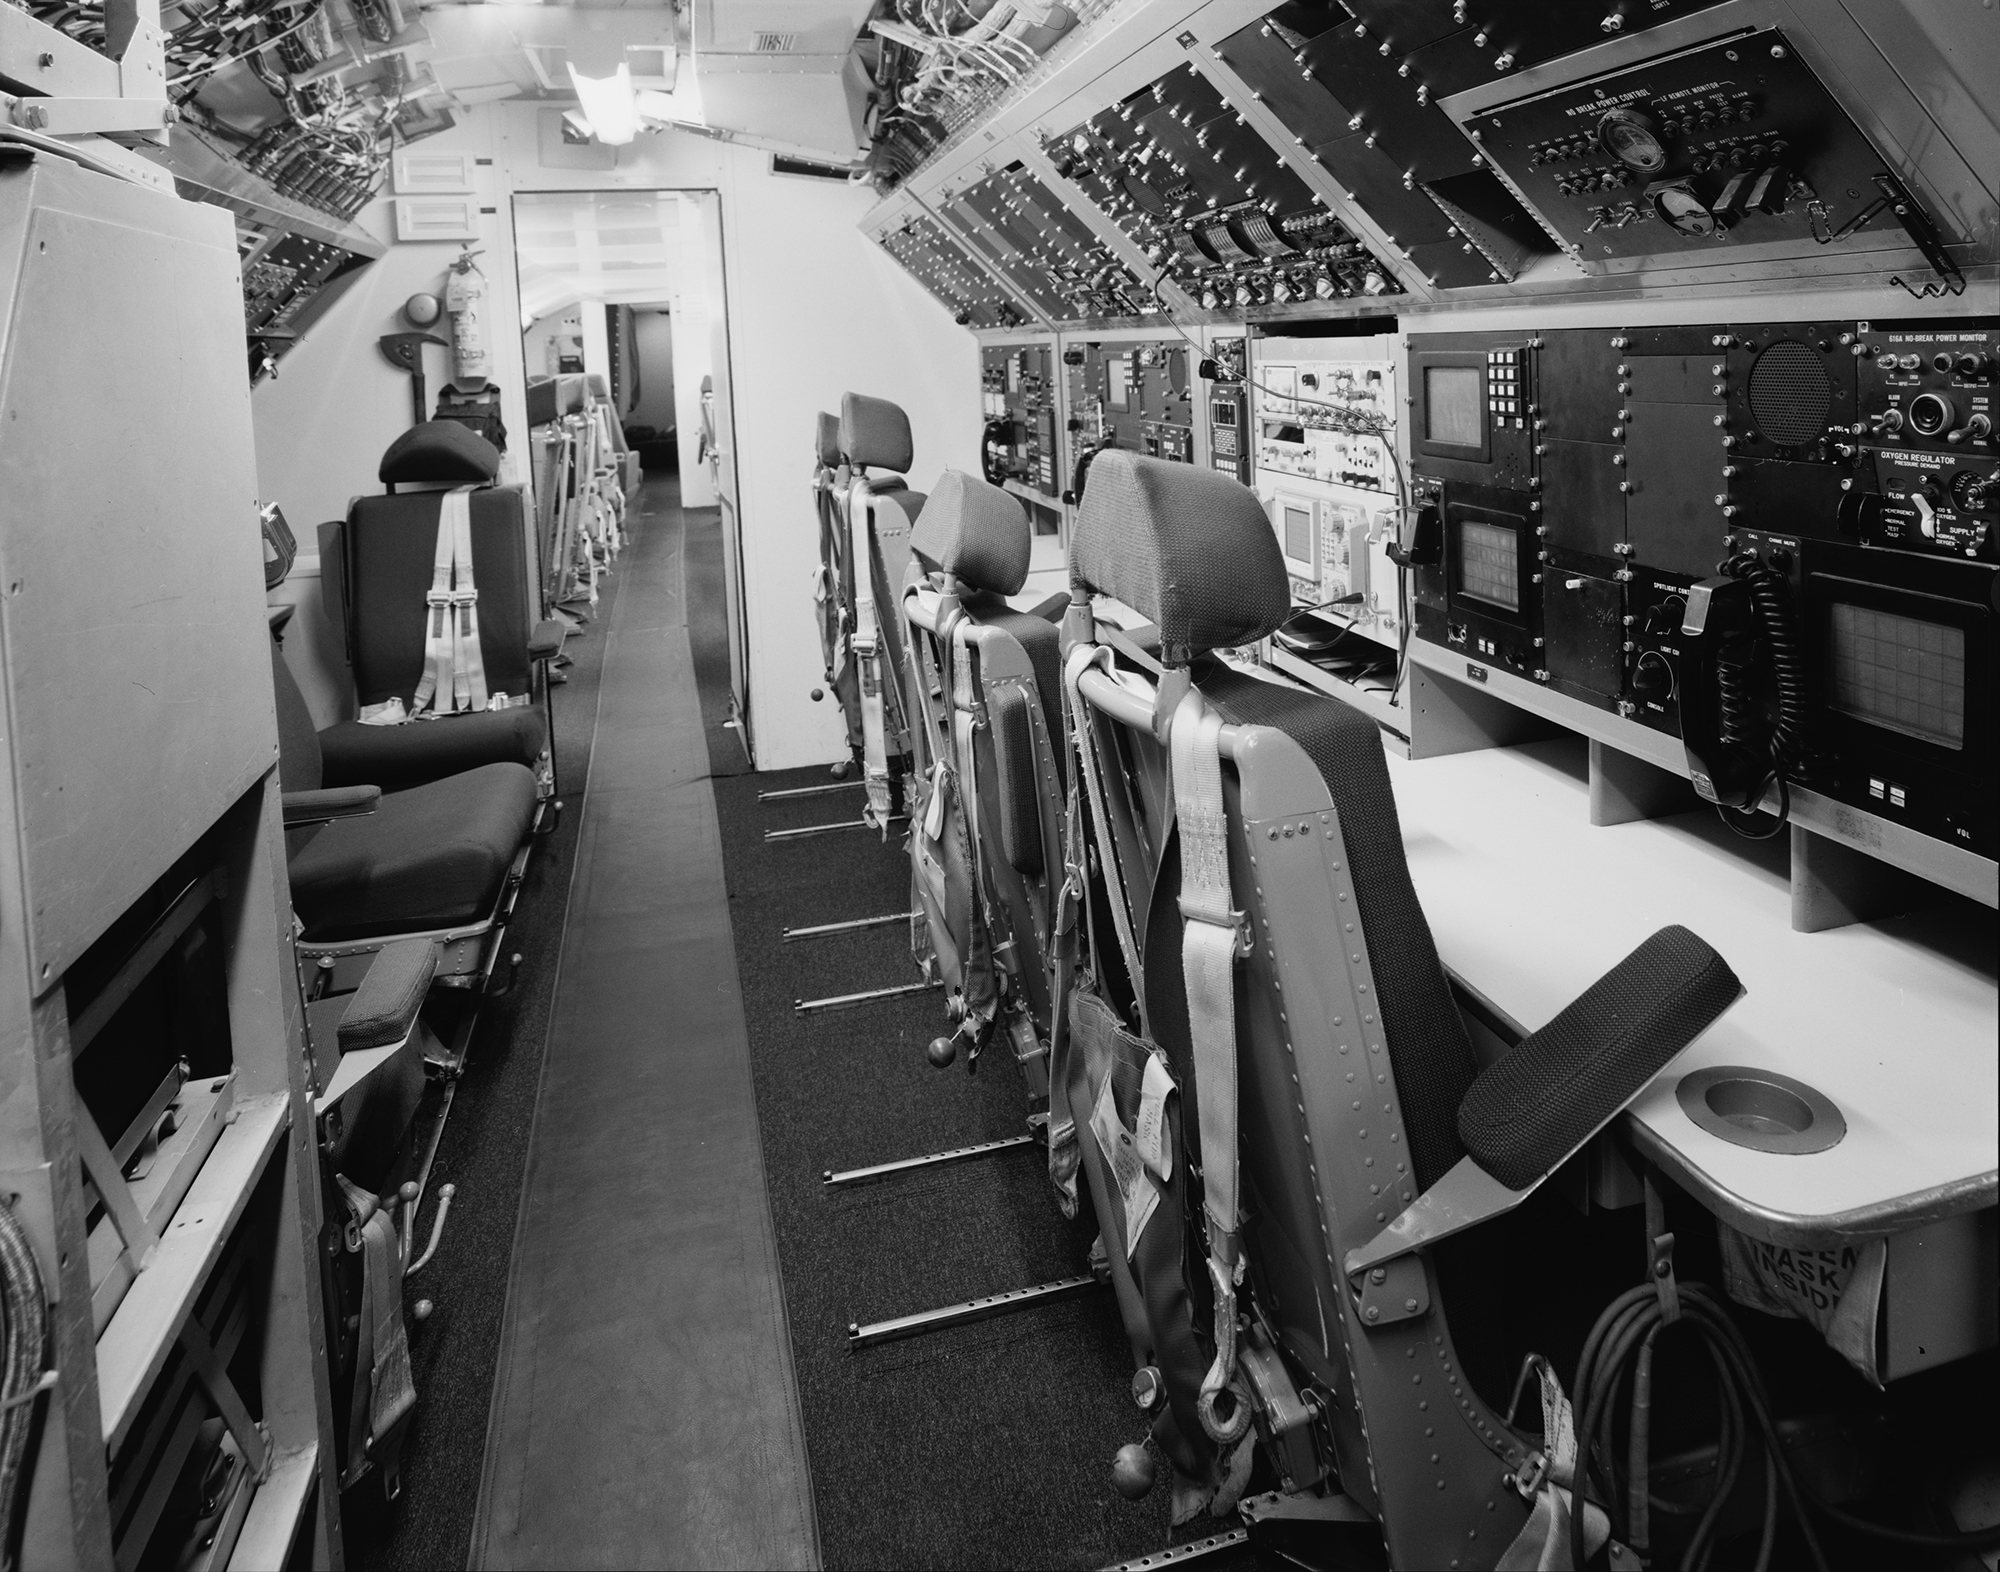
Electronics Compartment Looking Toward The Rear
Click on the image for a larger view
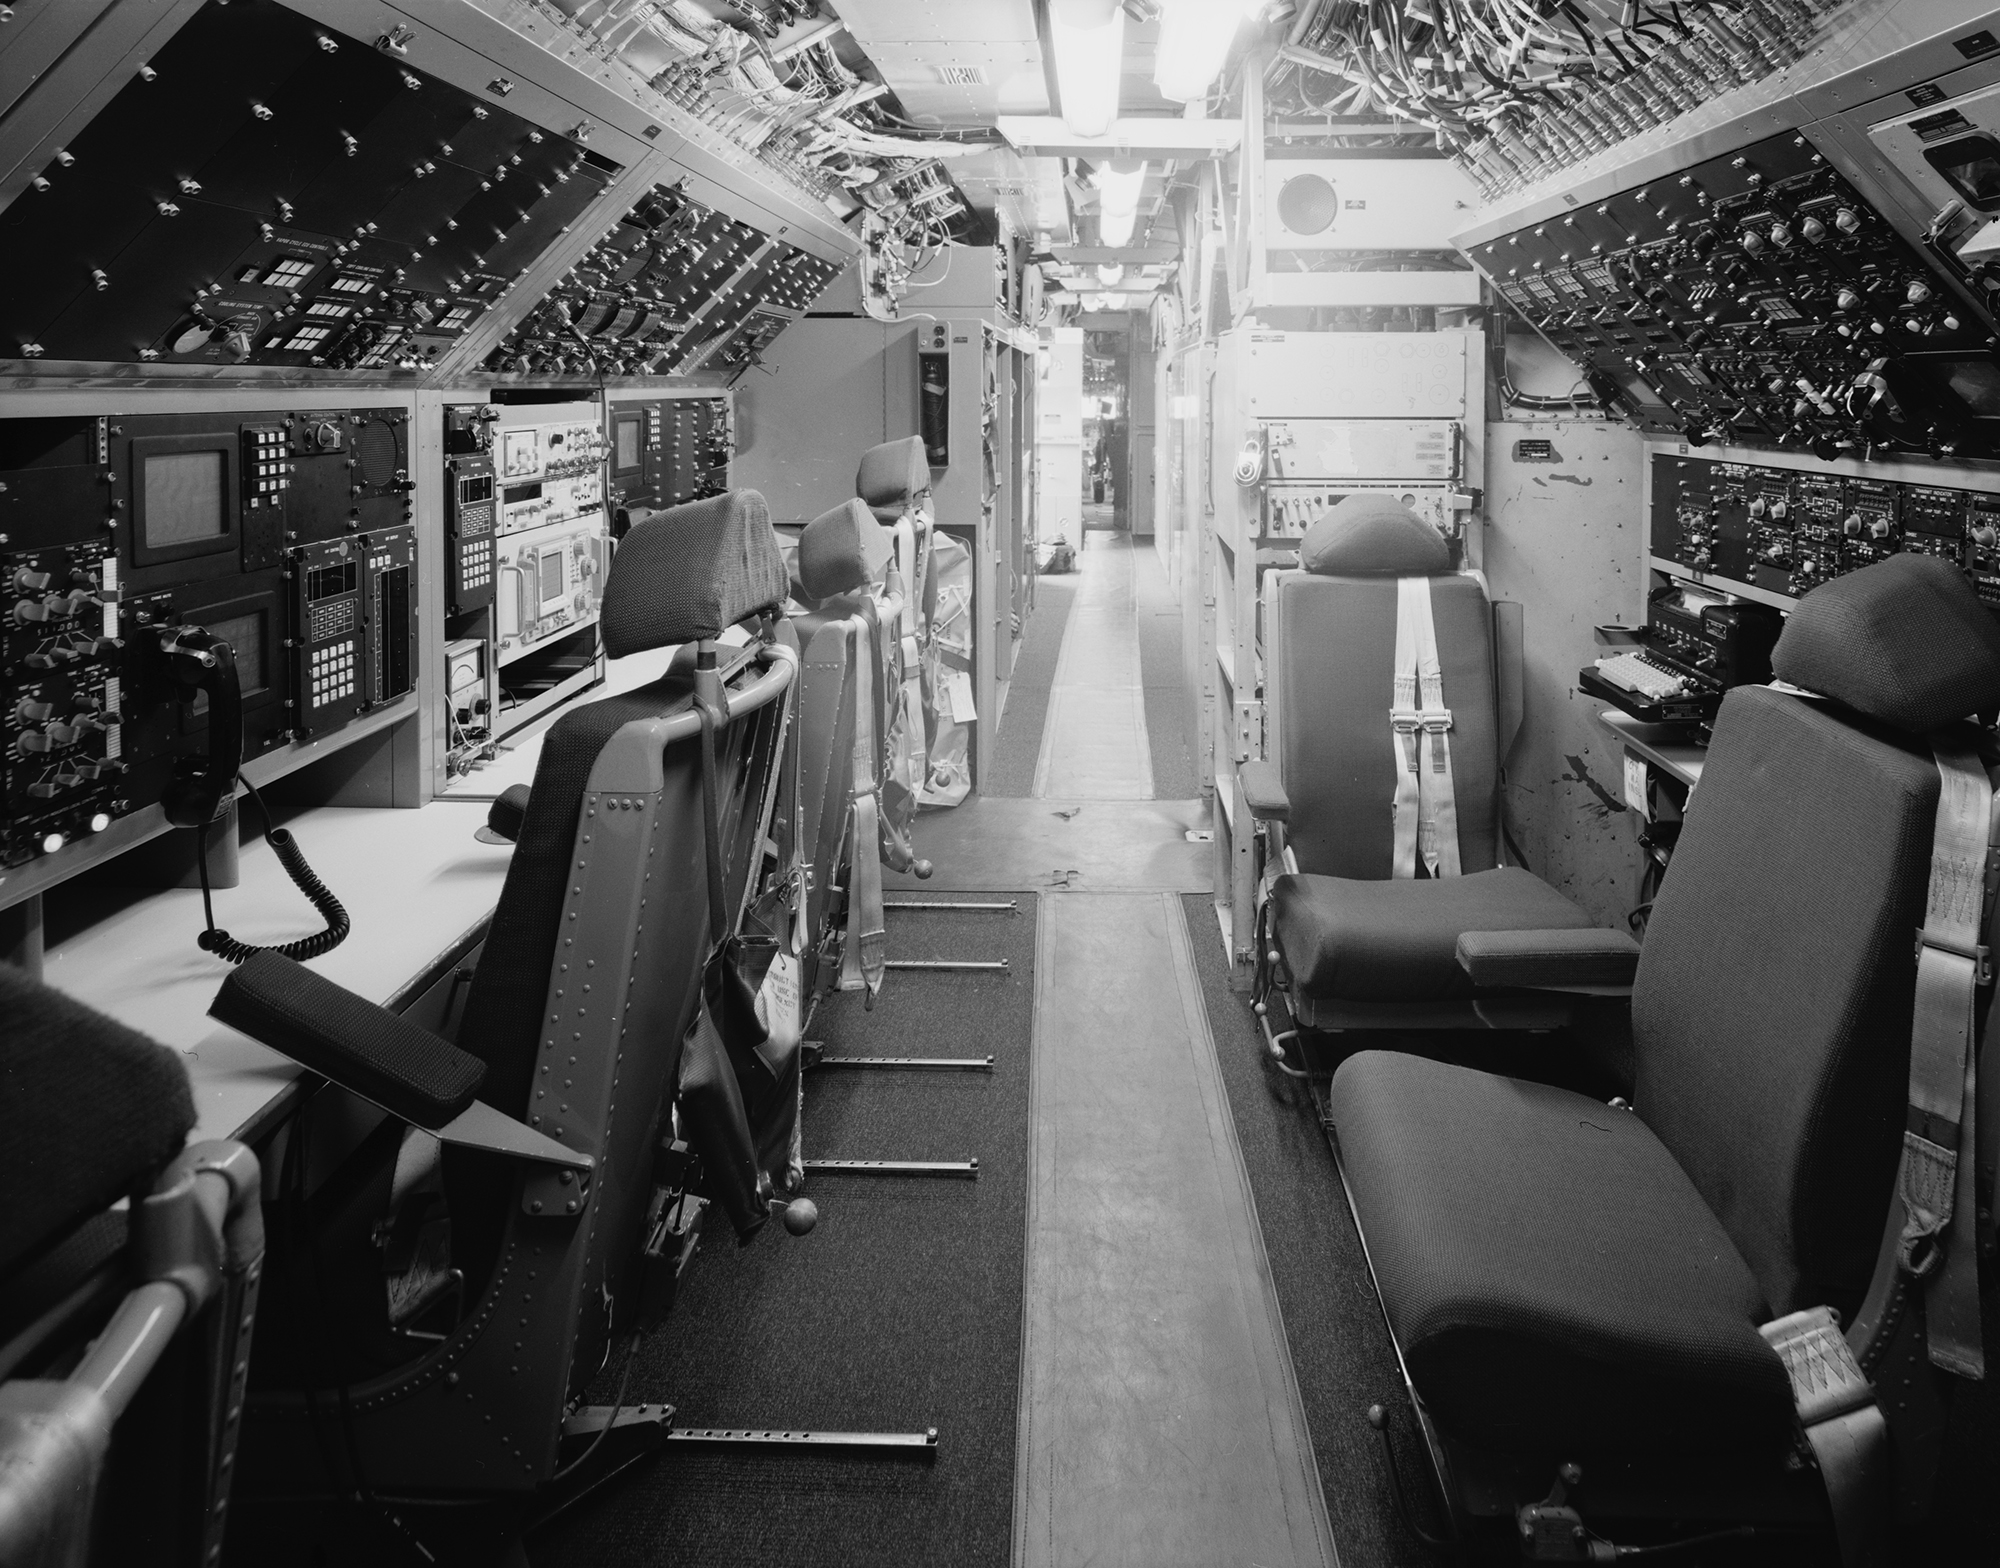
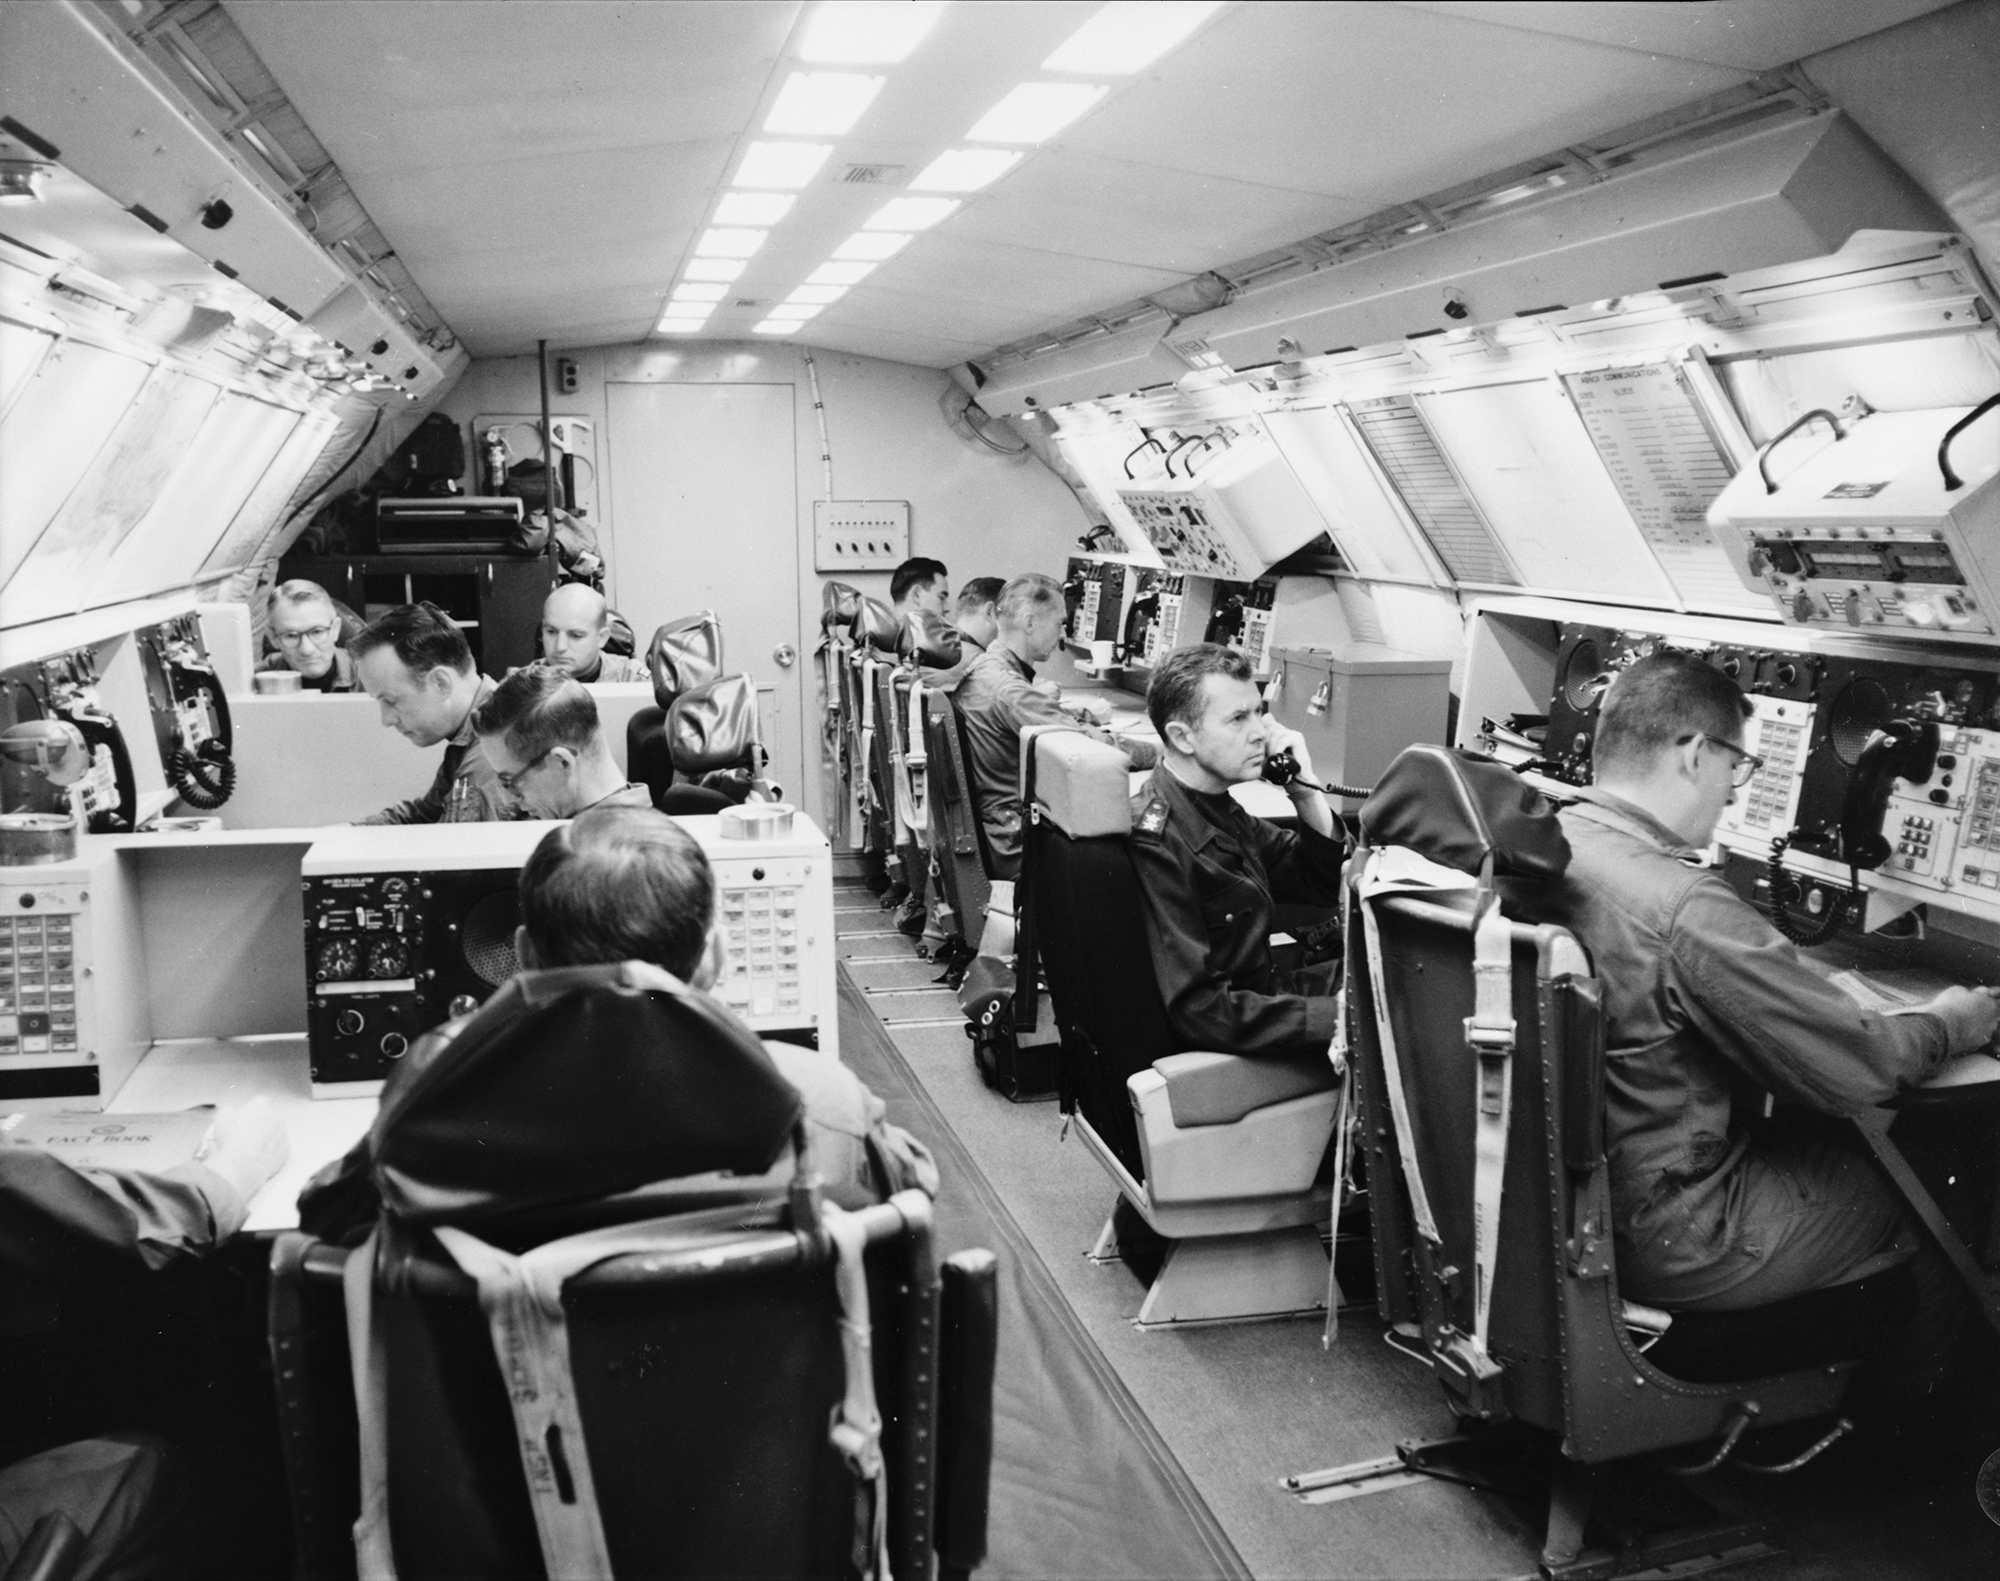
Communications Compartment Looking Forward
Click on the image for a larger view
Communications Compartment Looking Toward The Rear
Click on the image for a larger view
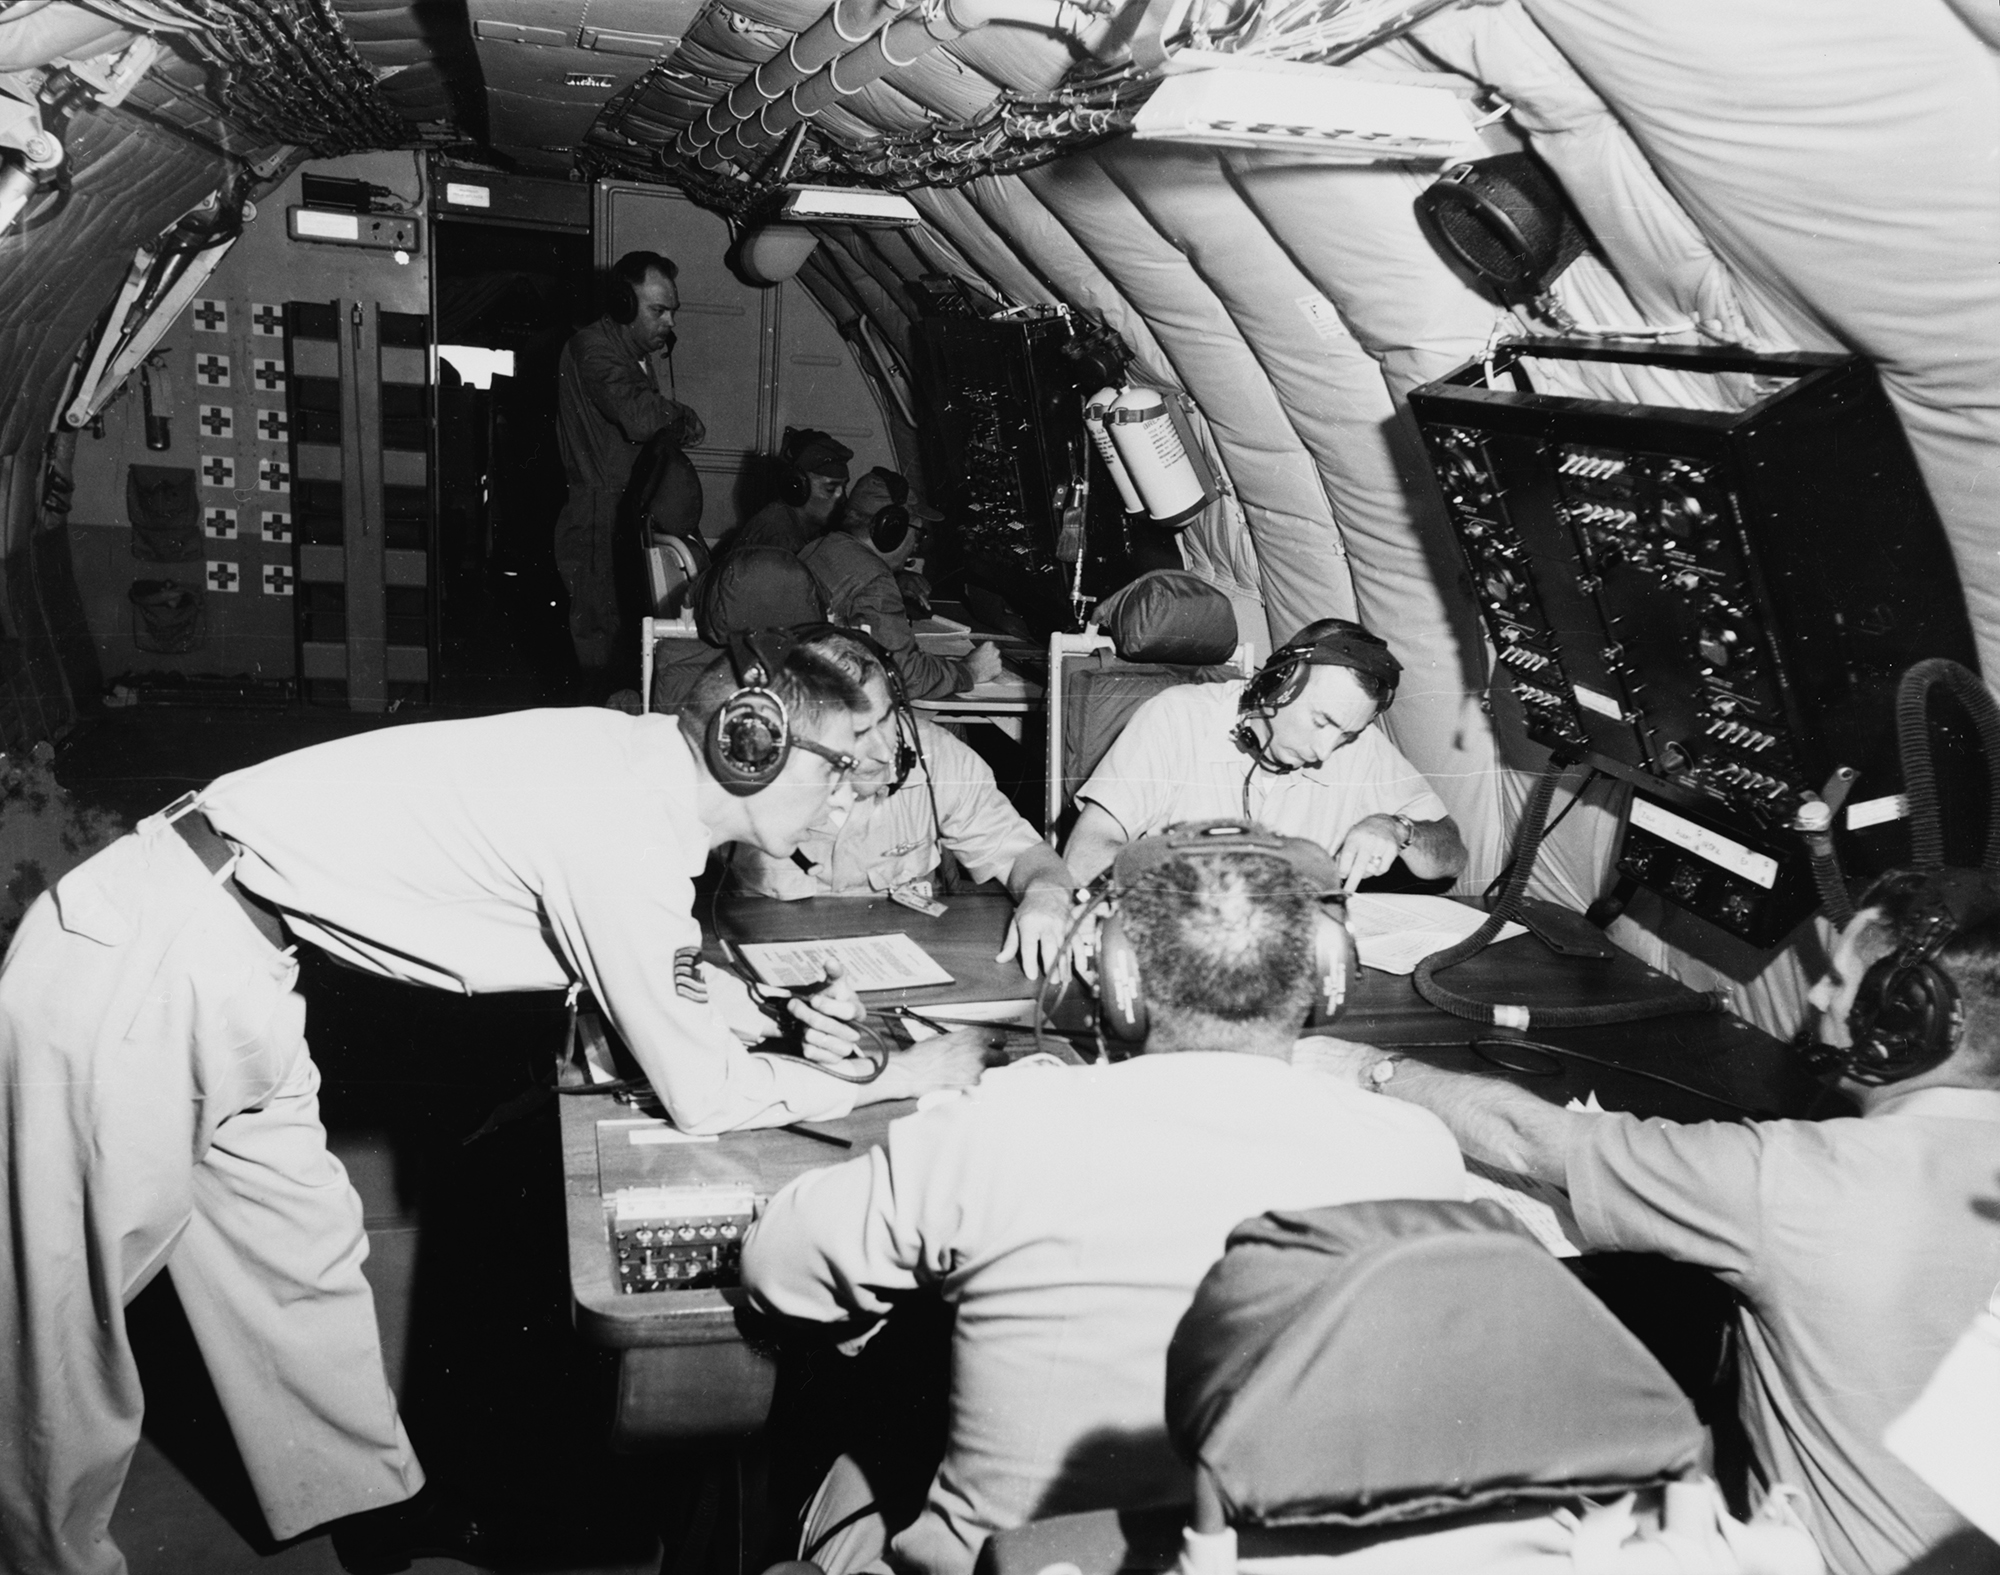
Battle Staff Crew At Work
Click on the image for a larger view

Battle Staff Compartment With General's Chair
Click on the image for a larger view
Battle Staff With Major General Jerry Johnson
Click on the image for a larger view

Lt General Glen Martin Turning The Key
Click on the image for a larger view